Friday, June 16, 2023

1:24 Model House completed!

I started this at the beginning of 2020.

I friend and her husband were stuck in a home-office situation in their ver nice but smallish apartment. This prompted me to dream a little with them...

Here now, after three years, the result on my youtube channel 'marion russek 1:12':


https://youtu.be/al1efznfppo

At the end of this video, there is a short section on 'make of' as well.

ENJOY!


Wednesday, April 26, 2023

Video of Paris Townhouse

I neglected this blog somewhat and a follower now inspired me to post again. Thanks Michael..

First of all: I completed the video of the 'Boulevard Haussmann' top floor appartment!

https://www.youtube.com/watch?v=dxlFUET4kx8&t=1s

And - yes - I did work with Kapaline foamboard. For the lower floor walls I used 3X10mm walls in order to get the necessary recess for the windows.

At the moment I am busy as projet manager in real life with the renovation of a terrasse roof garden. The roof hat to be replaced and this was the opportunity for the owner to make something beautiful - especially since the view is absolutely fabulous!


In order to show him what I planned I made a 1:24 model for him


Let's hope for no rain so that the workmen can get going....

Monday, July 4, 2022

It has been a while...

Quite frankly - I thought I was done with minis. No urge, no time, no mini-eye, no nothing for the past two years. The world was and is going mad! Together with a group of friends we tried to keep it in balance for many people in Switzerland.

But miracles happen sometimes...  My daughter, not a miniturist but a historical costume maker, made a 1:12 mother's day floral arrangement. 

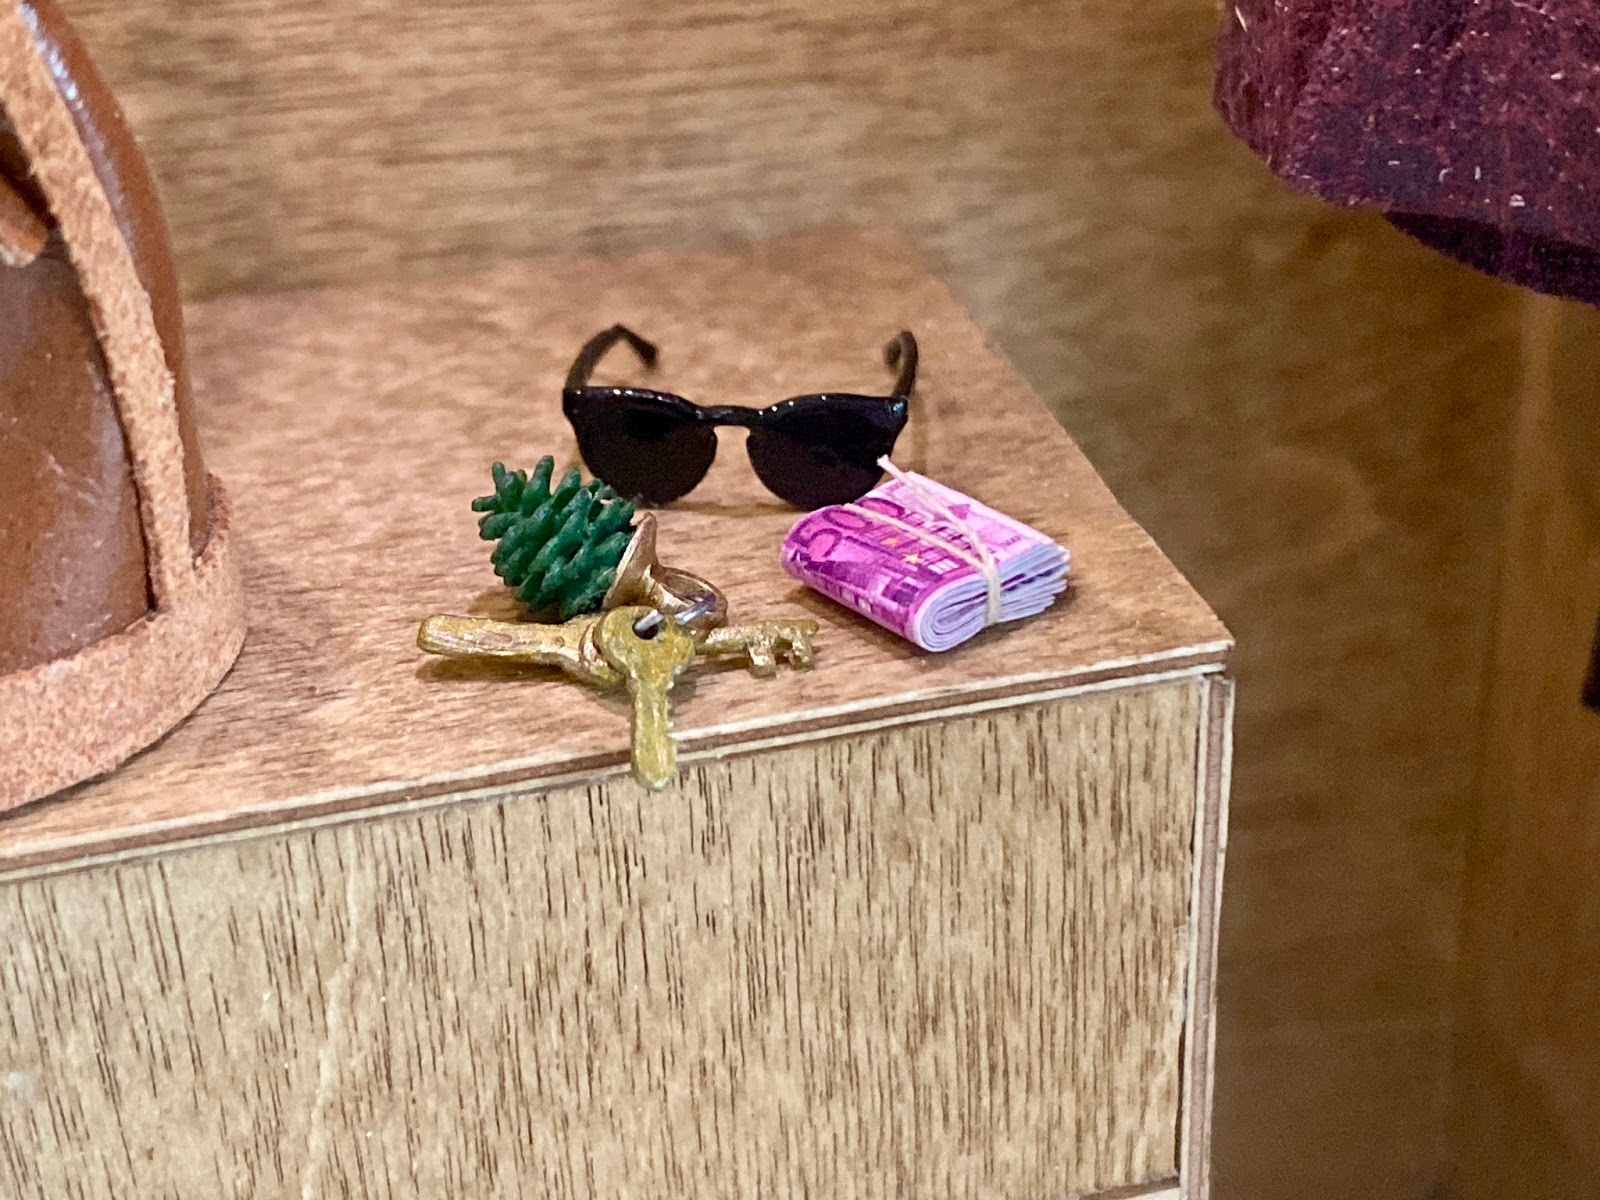
And then she started making more flowers, plants, macrames, fimo food and incredible stuff I would never have the patience for. 

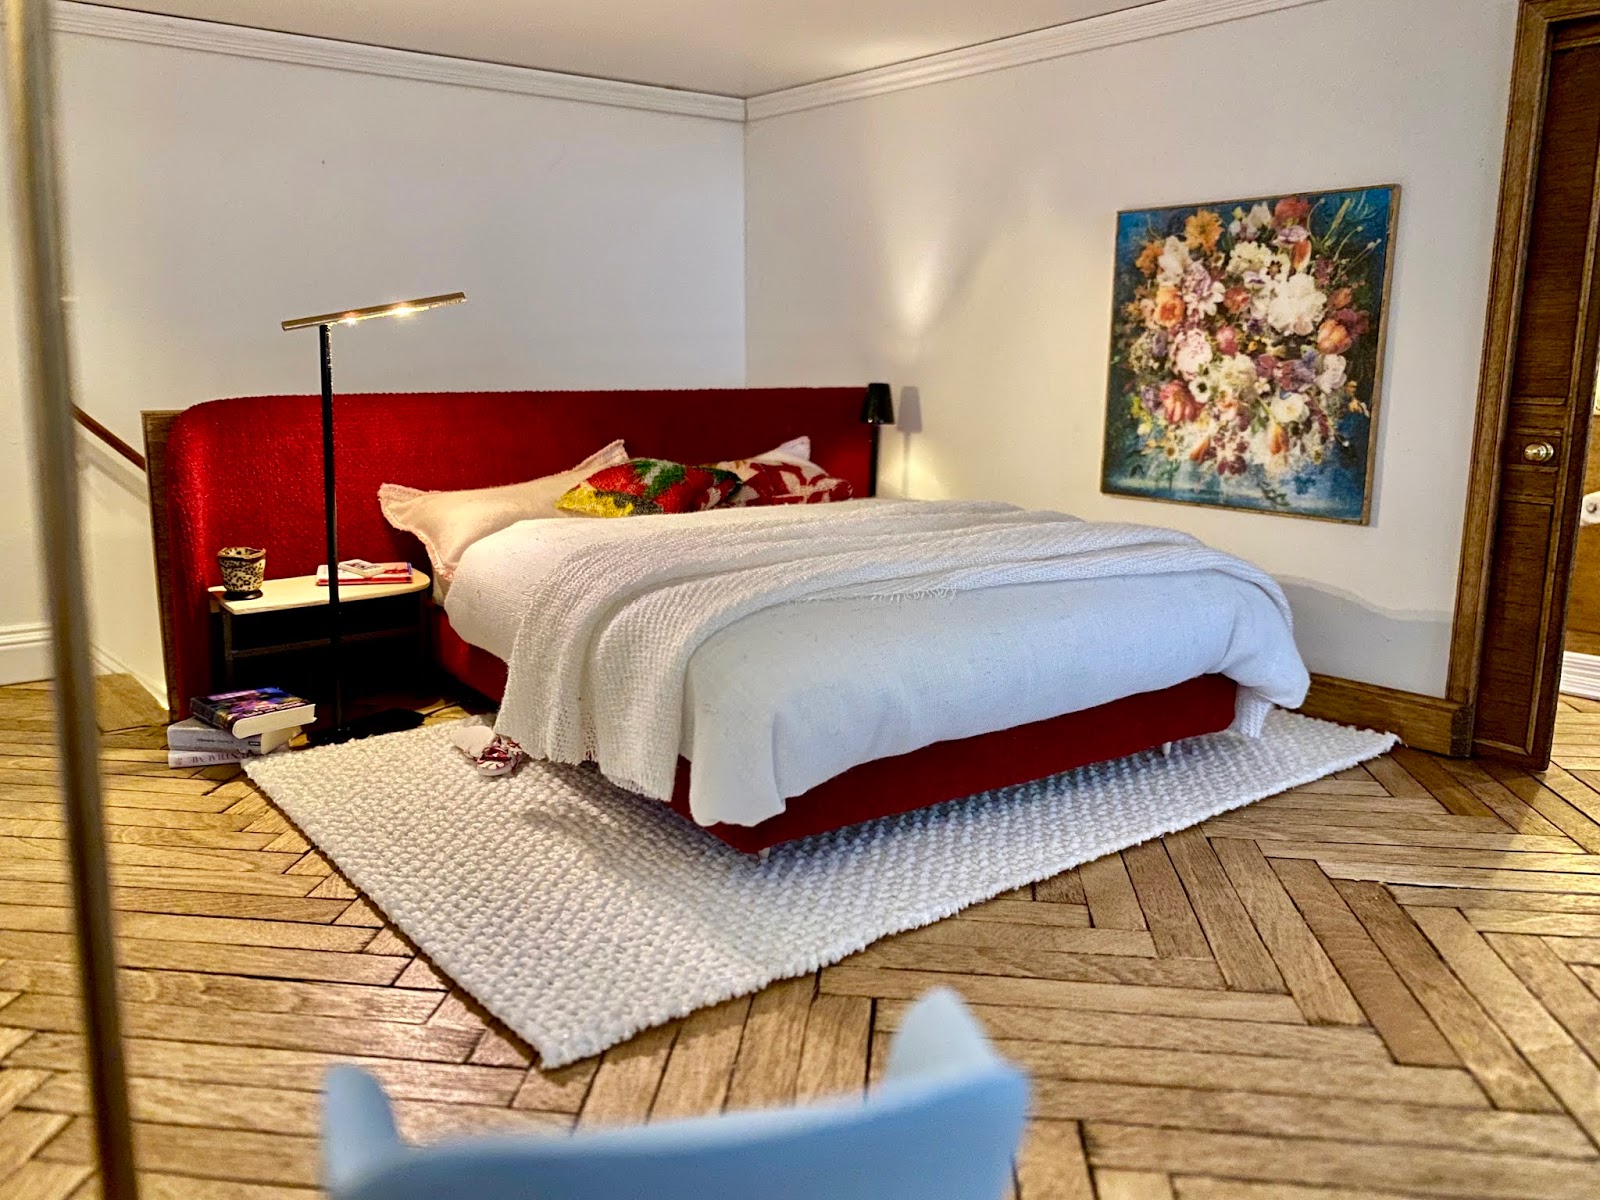
And she needed a room box for all this, Spanish/Mexican Hacienda-style. 
So, this is how I got back into it. 

It is amazing: my dad was a model-railway-builder in gauge 1, I am doing architectural models and now my daughter started as well! It must be the genes... :-)

The room box is not finished yet - but I am sooo proud of these palm trees!


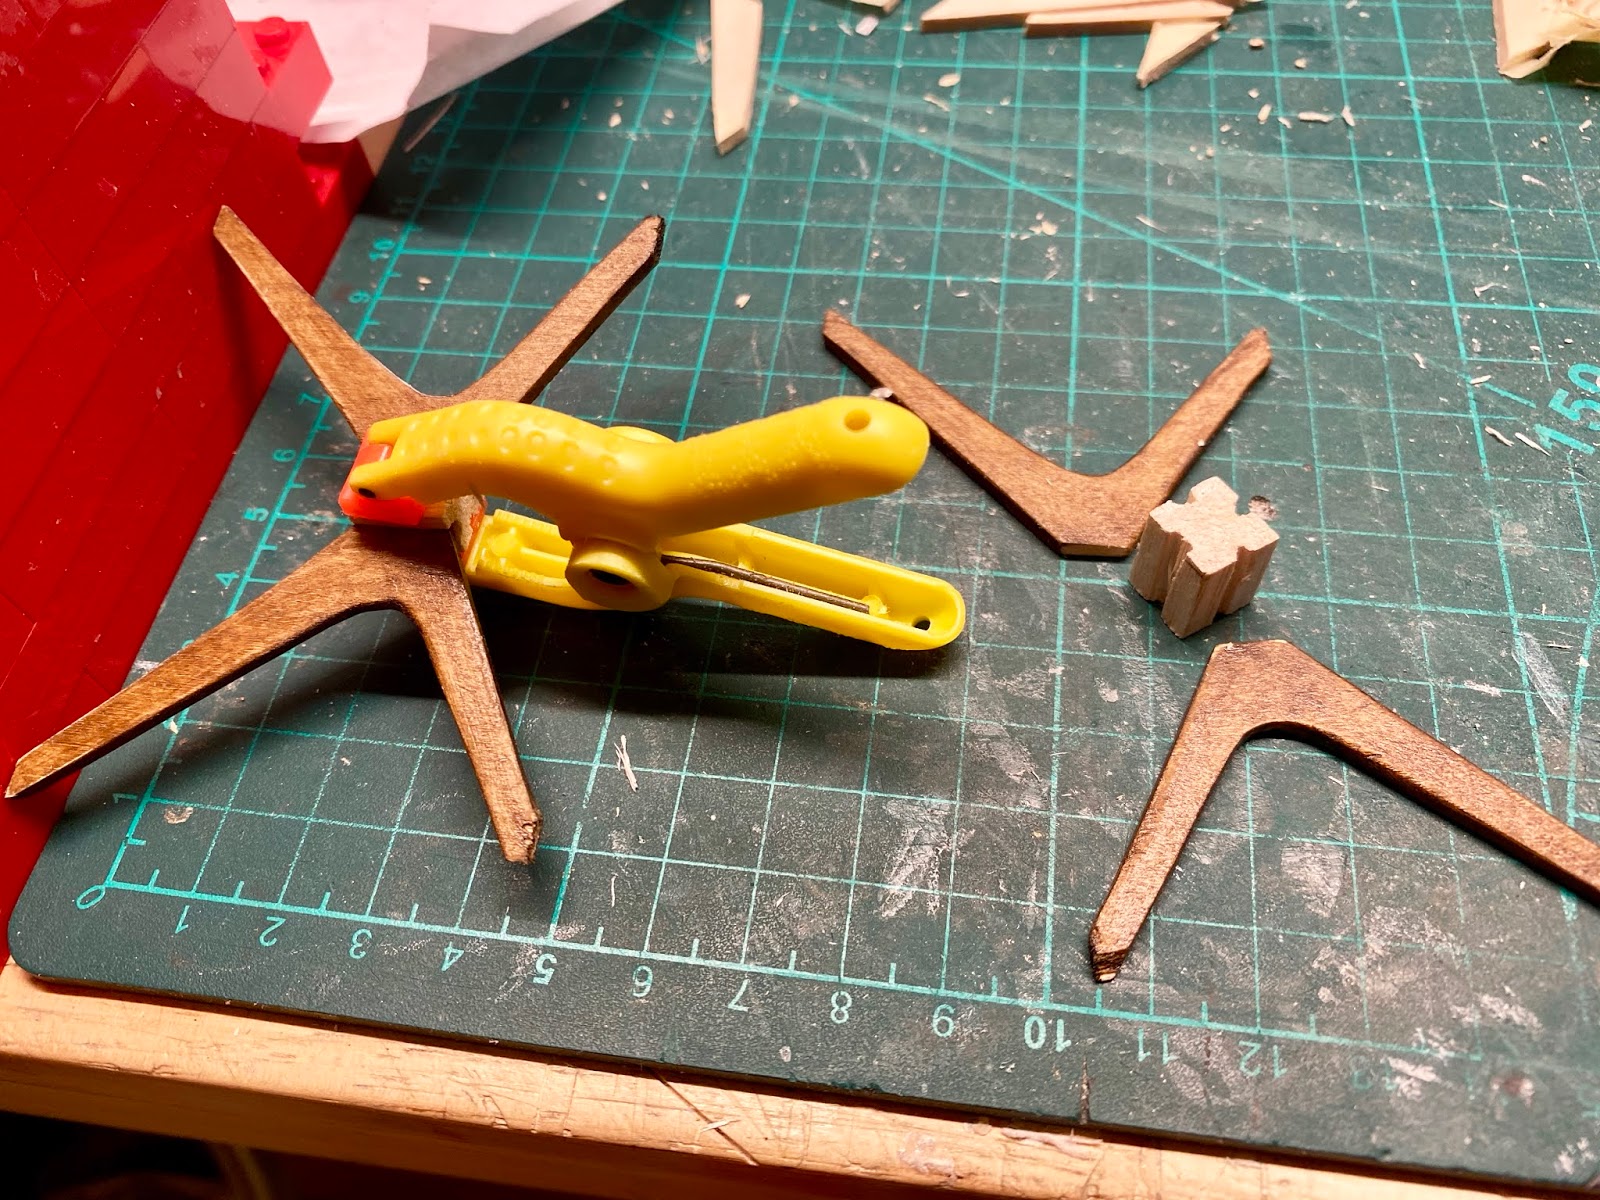
I ordered some laser-cut leaves lare tropical leave) from Yenmodels.be  knowing that they will not be large enough for 1:12. But then - we all know how to make things work :-)  Copied and enlarged them and cut them out with the nail scissors. When coloring them, best not use high gloss...


The stems have a wire I covered with household paper and then with rings of Super Sculpy. They looked hideous when they came out of the oven :-). But paint and sanding made them look like stems of a palm tree-

P.S. I am talking to Yen in Belgium to laser cut larger leaves for scale 1:12. Hopefully he will take up the idea...


Monday, April 6, 2020

Tutorial scale 1;12 round modern wood Dining Table


You need:
·      basswood, thinner one for the legs, thicker (3-4mm) for the top.
·      balsa for the centerpiece
·      Sanding paper and patience

I started off by making a prototype in cardboard. The most important was that the legs looked proportionally right.


Once happy with the look, I cut a tabletop and sanded it on the disc sander to a perfect 12cm circle.
Then I sanded the edges so that the appearance of the tabletop became elegant.

Then I used this template to make 4 legs.


Best to wrap the basswood with masking tape because it easily chips when cutting.
I cut mine with a standard japan knife because basswood is not very hard.

Next step: made a square balsa piece into a ‘cross’. This is about 1.2cm long.
Then glued the legs one by one onto that piece using a Lego guide so that the legs all touched.


Painted the center part and the table top with ‘walnut’ glaze (Lasur), and then hoped that the top was dead straight!

Alas, the level did detect a flaw!


The easiest way was to add a piece of paper/cardboard right under the table top.
Sanding off to get it level is much more difficult and usually spoils it all.

Now the table was ready to be shown off!

Thursday, March 26, 2020

Inside nearly complete

The two floors of my pied-a-terre in an Haussmann Building in Paris are nearly complete.

Waiting for Dorota to come back to send me a coffe machine, trying to decide what the kind of dining table and chairs and a few other things in the lounge.

Easy.... the right idea will come in good time. And then I will show the pix..

So, now to the upper floor in this apartment:

The slanted roof on two sides (it is a corner house) were tricky because I wanted to fit window-doors in there as well. Loved to figure this out :-)


When it came to hide the window trimming inside, I decided to laser arched in very thin wood. That works if all the arches are the same ... haha.

I was so lucky that I did this some 14 days ago before the fablab closed because of corona!

Now I am stuck with the drawings for the wrought iron balustrades: can't 3d print them unless I order in the Netherlands. Not that I need them right now but I would love to see if they work out...


I tackled the bathroom first.

Shower? Bathtub? both? and (typically French) bidet as well??
Decided on combo bath/shower because I needed walk-through space for the dressing room in the back of the bathroom.

I used my Shapeways tub and fitted a polystyrol casing around it, so that it looks as if it is one piece.
Instead of tiling it I used 'vinyl' wallpaper (works perfectly in real bathrooms, too.


How-to : Bathroom Mirror Cabinet

I wanted to try some different lighting for the mirror cabinet.
What you need:

I painted silver so that the white does not show up between the mirror pieces..


  • Glue the nanos to each side of the perspex rod. If you want the light to be seen I suggest to sand the perspex to make it matte. 
  • First I made the 'cabinet' with the foamboard. Then I painted the back area of the lights in silver and cut small openings for the wires to go to the back. I made a hole in the back of the foamboard to stash away the resistors from the 4 lights.
  • Then I cut plastic casings (used semi transparent stationary presentation cover).
  • Attached all this with double sided sticky tape to the sides of the cabinet.
  • Then glue the mirror to the cabinet, try to sandwich the inside light casing between the mirror the light rod.
  • And cover-up of where the lights are glued onto the rod by bending metal sheet strips.


How-to : walking closet :-)

Adpated from an idea I have seen on FB - I searched for a nice background photo - et voilà!!

Just imagine making so many shirts and dresses and all.... no way!!!


Bedroom

Nothing really complicated here except on deciding about colors, style and all..
Piece of cake, right?


I've seen this and loved it instantly.


The interpretation for this setting:


The console table comes from Queenofdiamonds.miniatures (Etsy) in South Africa
The lamps were the fiddly part though. Very happy with the reading and floor light, a bit unhappy about the 2,d bedside lamp (stem too thick for the size...). It sometimes is painful to be a perfecitonist in these things :-(


Ah, and here shots of the staircase completed!

Displaying the trouvailles I found at the Milan mini fair a couple of weeks ago...


Fact is: nobody really can see this because it is hidden behind the bedroom!!!
But I know....and it simply had to be perfect, too :-)


So, that about sums it up.
Loooong blog...
Never mind if you don't read all the text - the pictures are the really interesting part ;-)

Now to the roof and then the outside...

Hugs from Switzerland - not total lockdown, just partial one....
Marion


Monday, February 10, 2020

Mini mania!

Mini got hold of me again! And I started my next project: a Parisian pied-à-terre on the top two floors of a typical building in Boulevard Haussmann in Paris.
This totally different and new style really tempted me....


Here the design I made for the house. I focus on the apartment right now - whether I do the three remaining levels below this ... not sure yet.

Walls: I decided not to paint but rather use a nice color paper.

Windows: we recently got a fablab (public space with laser cutters, 3d printers, felt-press, etc.) in our town. So, I decided to laser the windows with cardstock. But first I had to learn the software (Inkscape) and get to know how the laser works. This took a while but it was fun because I got to know new people and techniques. Learning something new is sooo important!

miniature Window handles

But only two of the windows on this floor open - didn't want to stress myself too much ;-)
I am so please with the hardware from my shop at Shapeways... it looks perfect.

Floor: popsicle sticks with a tinted waxing.
The holes in the wall are for lights up to staircase...


Panels for the walls: cardstock, combination of laser and hand-cut. But I had to order the quarter-round dowels for the top from the U.K. - and of course all these other wall trimmings.

Entrance and staircase: space is a little cramped there and I really had to figure our which step to take first. I wanted to use the space under the staircase and recessed part of the kitchen into it.

And there was a small space for a laundry room as well :-) I did not furnish this because I cannot get to it and just used a photo.


While the apartment is old, the furnishing and interior decorating will be contemporary. Shabby chic or antique is just not my style. So, I saw this sofa 'Major Tom' in Dezeen and made a replica. It turned out beautiful but I think it is a little too big for this room - might have to make a different one.
Major Tom in miniature

As you know lamps and lighting is my passion! First I had this idea for the two in the entrance hall.
Then I wanted a Belux Twilight for the lounge. And of course a reading light: copy of Fez from Baltenschweiler. And I laid enough cables for a few more ;-)
Entrance Hall with downlights (Nalladris bulbs)


Miniatures Belux Twilight floor lamp


And the kitchen is nearly complete as well:


Ah, nearly forgot the radiator - it can be cold in Paris in winter, too ;-)
oh, just see that the door handls are at a different height... mh. Some things you only notice on a photo...


Well, this is what the project looks today. Seems as it I calculated the stairscase correctly: just enough space for the flooring :-)


A looong blog - but there was so much to share!
And either I now get busy with the floor above or I do the front first - there is still plenty to make me happy :-)

Keep you posted...