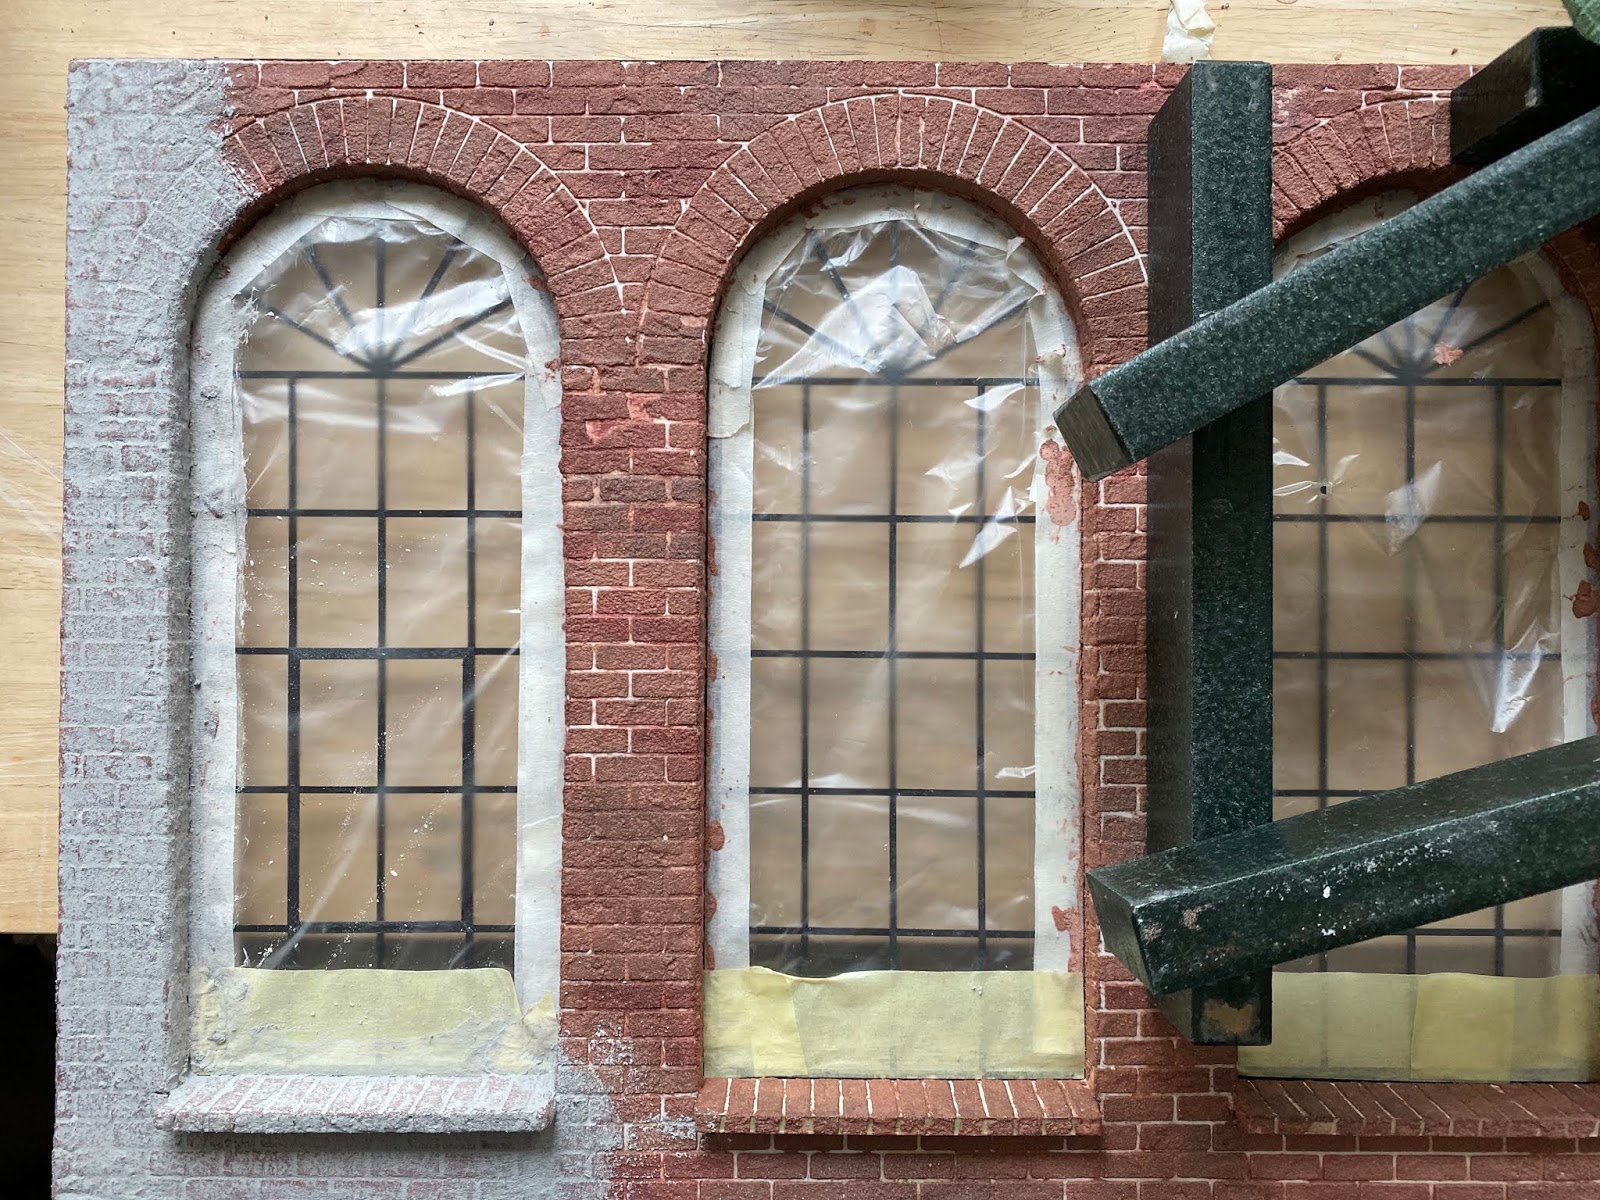
The two floors of my pied-a-terre in an Haussmann Building in Paris are nearly complete.
Waiting for Dorota to come back to send me a coffe machine, trying to decide what the kind of dining table and chairs and a few other things in the lounge.
Easy.... the right idea will come in good time. And then I will show the pix..
So, now to the upper floor in this apartment:
The slanted roof on two sides (it is a corner house) were tricky because I wanted to fit window-doors in there as well. Loved to figure this out :-)


When it came to hide the window trimming inside, I decided to laser arched in very thin wood. That works if all the arches are the same ... haha.
I was so lucky that I did this some 14 days ago before the fablab closed because of corona!
Now I am stuck with the drawings for the wrought iron balustrades: can't 3d print them unless I order in the Netherlands. Not that I need them right now but I would love to see if they work out...
I tackled the bathroom first.
Shower? Bathtub? both? and (typically French) bidet as well??
Decided on combo bath/shower because I needed walk-through space for the dressing room in the back of the bathroom.

I used my Shapeways tub and fitted a polystyrol casing around it, so that it looks as if it is one piece.
Instead of tiling it I used 'vinyl' wallpaper (works perfectly in real bathrooms, too.

How-to : Bathroom Mirror Cabinet
I wanted to try some different lighting for the mirror cabinet.
What you need:


How-to : walking closet :-)
Adpated from an idea I have seen on FB - I searched for a nice background photo - et voilà!!

 Just imagine making so many shirts and dresses and all.... no way!!!
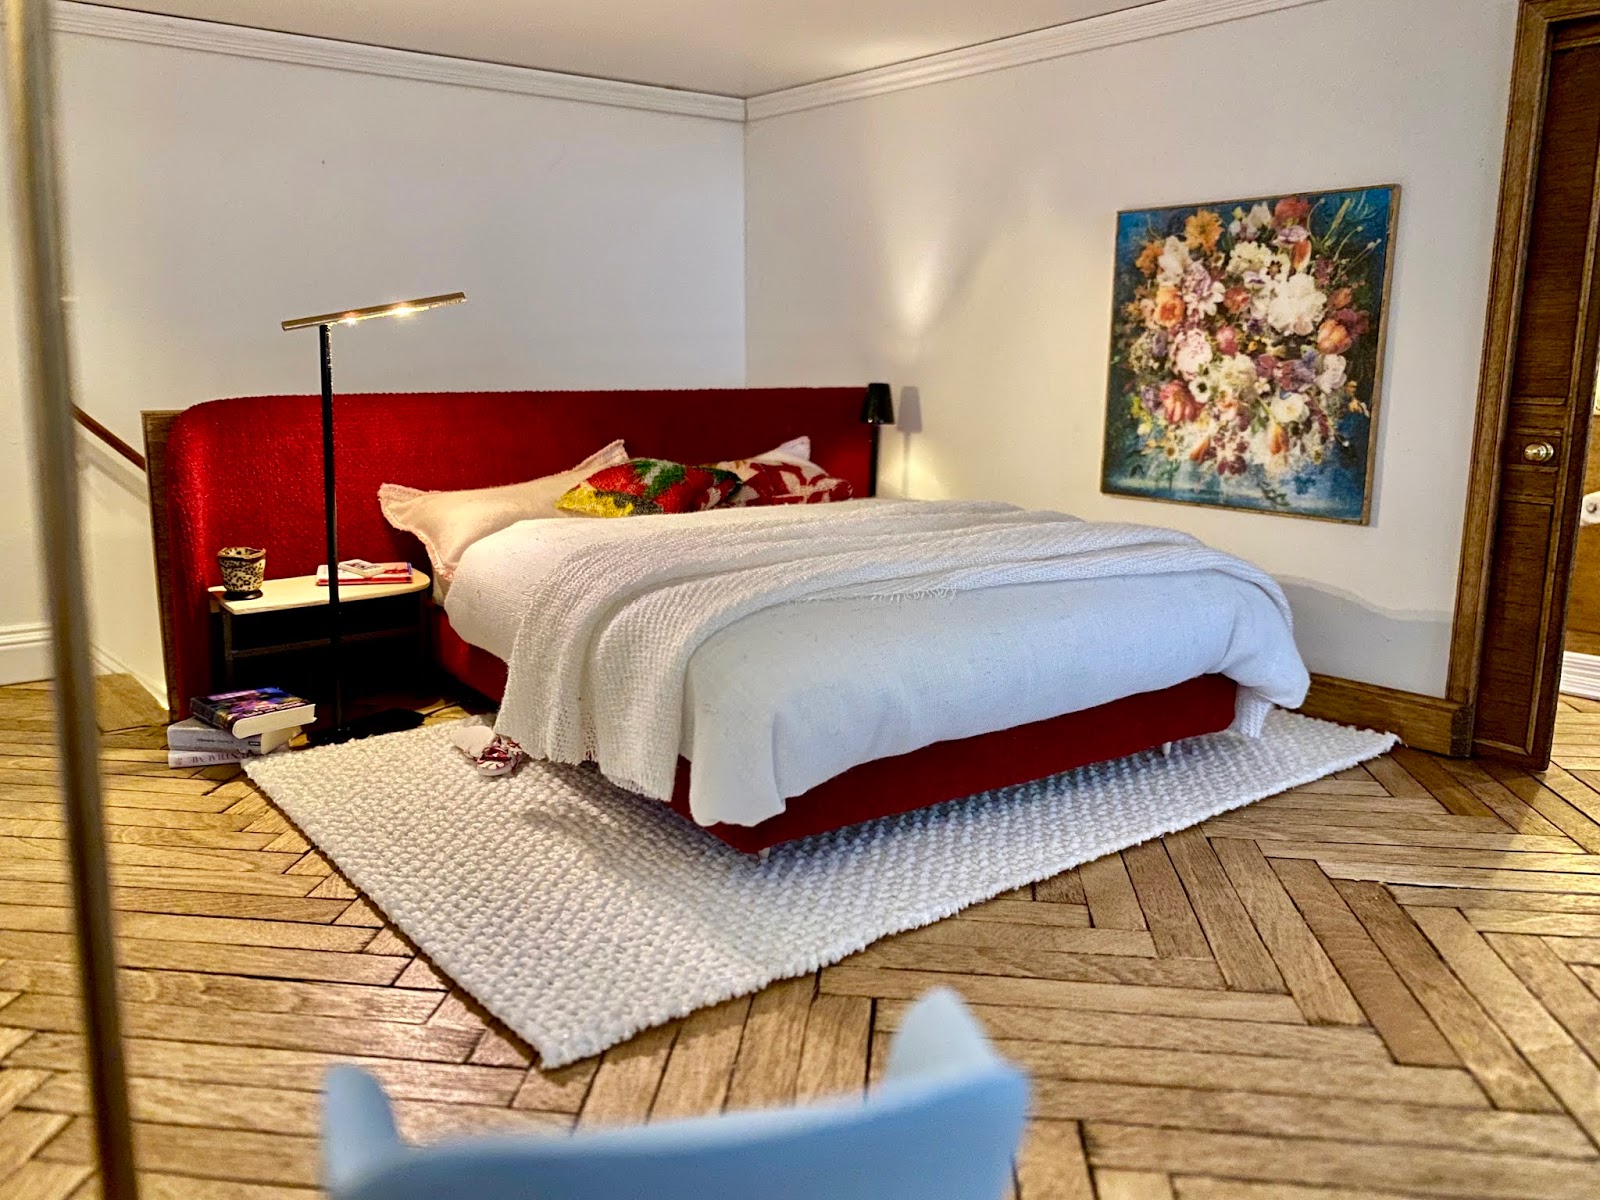
Bedroom
Nothing really complicated here except on deciding about colors, style and all..
Piece of cake, right?

I've seen this and loved it instantly.

The interpretation for this setting:

The lamps were the fiddly part though. Very happy with the reading and floor light, a bit unhappy about the 2,d bedside lamp (stem too thick for the size...). It sometimes is painful to be a perfecitonist in these things :-(
Ah, and here shots of the staircase completed!
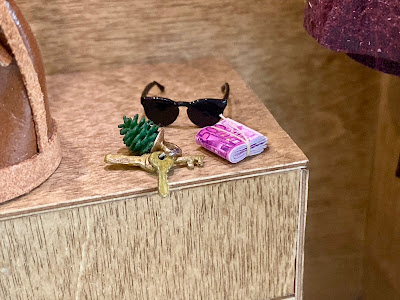
Displaying the trouvailles I found at the Milan mini fair a couple of weeks ago...

So, that about sums it up.
Loooong blog...
Never mind if you don't read all the text - the pictures are the really interesting part ;-)
Now to the roof and then the outside...
Hugs from Switzerland - not total lockdown, just partial one....
Marion
Waiting for Dorota to come back to send me a coffe machine, trying to decide what the kind of dining table and chairs and a few other things in the lounge.
Easy.... the right idea will come in good time. And then I will show the pix..
So, now to the upper floor in this apartment:
The slanted roof on two sides (it is a corner house) were tricky because I wanted to fit window-doors in there as well. Loved to figure this out :-)


When it came to hide the window trimming inside, I decided to laser arched in very thin wood. That works if all the arches are the same ... haha.
I was so lucky that I did this some 14 days ago before the fablab closed because of corona!
Now I am stuck with the drawings for the wrought iron balustrades: can't 3d print them unless I order in the Netherlands. Not that I need them right now but I would love to see if they work out...
I tackled the bathroom first.
Shower? Bathtub? both? and (typically French) bidet as well??
Decided on combo bath/shower because I needed walk-through space for the dressing room in the back of the bathroom.

I used my Shapeways tub and fitted a polystyrol casing around it, so that it looks as if it is one piece.
Instead of tiling it I used 'vinyl' wallpaper (works perfectly in real bathrooms, too.

How-to : Bathroom Mirror Cabinet
I wanted to try some different lighting for the mirror cabinet.
What you need:
- 3mm round perpex rods
- 4 nano lights from https://evandesigns.com/products/chip-nano-pico-leds
- a glue that is multi surface, I used The Ultimate
- card- or foamboard 1cm
- mirror
- bendable metal strips

 |
| I painted silver so that the white does not show up between the mirror pieces.. |


- Glue the nanos to each side of the perspex rod. If you want the light to be seen I suggest to sand the perspex to make it matte.
- First I made the 'cabinet' with the foamboard. Then I painted the back area of the lights in silver and cut small openings for the wires to go to the back. I made a hole in the back of the foamboard to stash away the resistors from the 4 lights.
- Then I cut plastic casings (used semi transparent stationary presentation cover).
- Attached all this with double sided sticky tape to the sides of the cabinet.
- Then glue the mirror to the cabinet, try to sandwich the inside light casing between the mirror the light rod.
- And cover-up of where the lights are glued onto the rod by bending metal sheet strips.
How-to : walking closet :-)
Adpated from an idea I have seen on FB - I searched for a nice background photo - et voilà!!


Bedroom
Nothing really complicated here except on deciding about colors, style and all..
Piece of cake, right?

I've seen this and loved it instantly.

The interpretation for this setting:
 |
| The console table comes from Queenofdiamonds.miniatures (Etsy) in South Africa |
Ah, and here shots of the staircase completed!
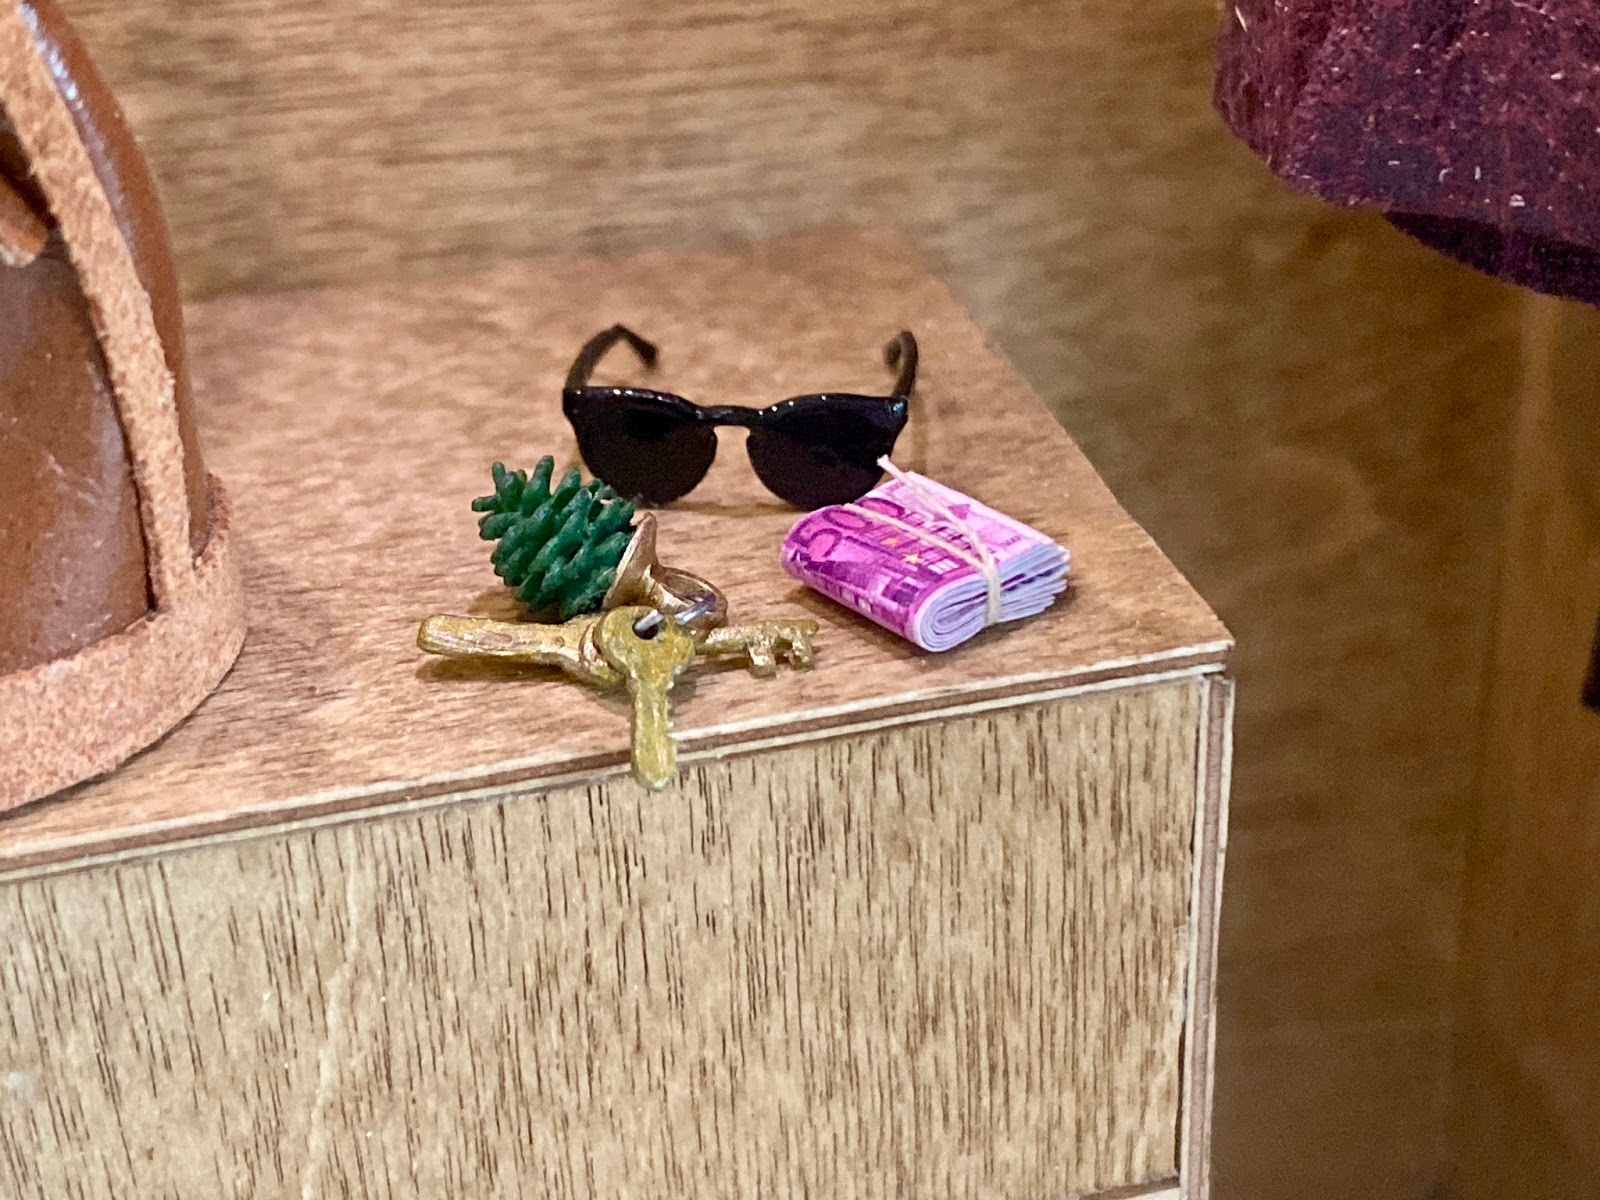
Displaying the trouvailles I found at the Milan mini fair a couple of weeks ago...

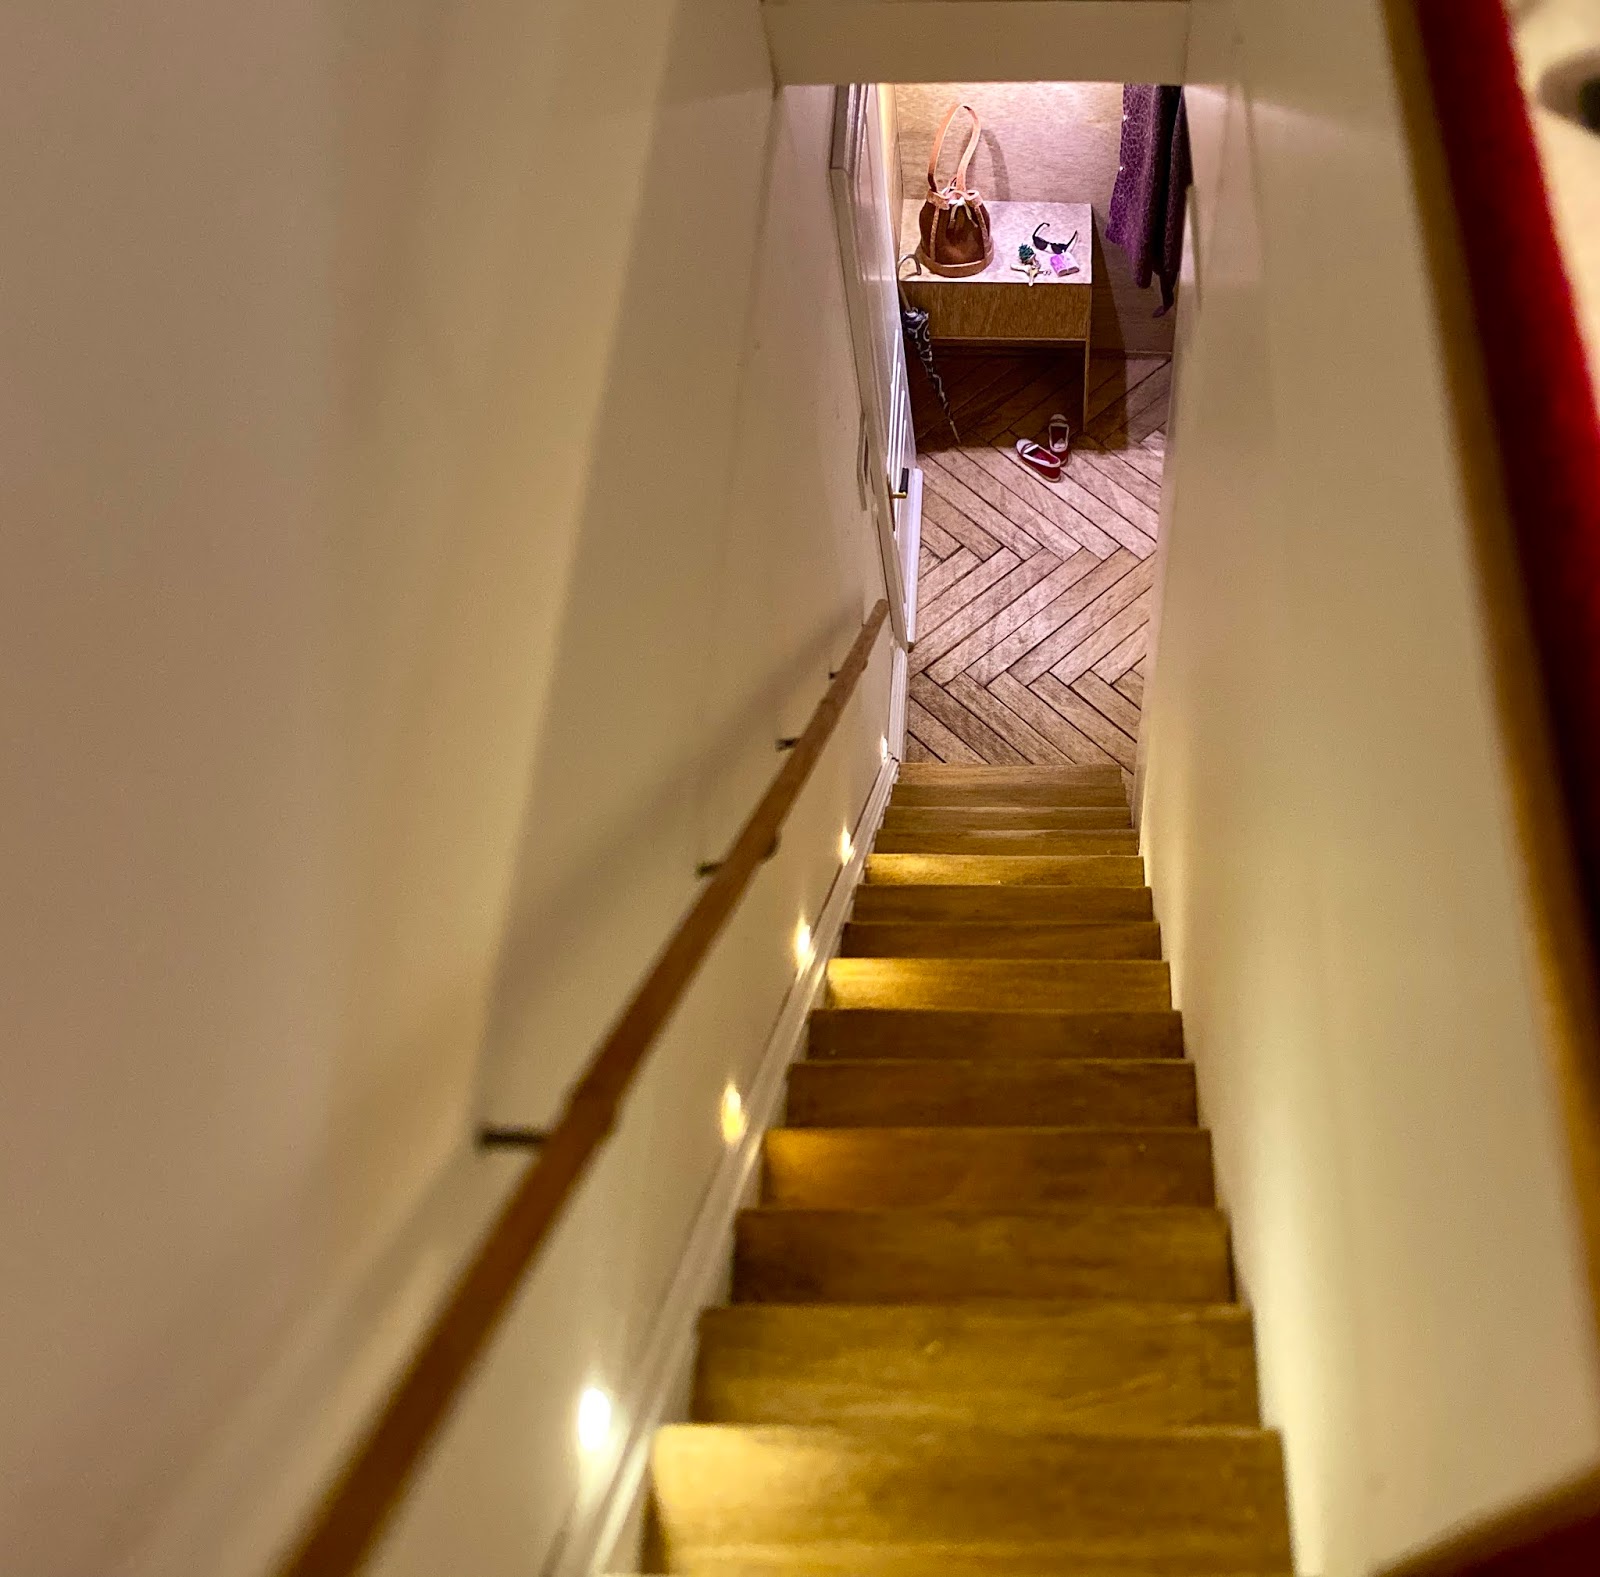 |
| Fact is: nobody really can see this because it is hidden behind the bedroom!!! But I know....and it simply had to be perfect, too :-) |
So, that about sums it up.
Loooong blog...
Never mind if you don't read all the text - the pictures are the really interesting part ;-)
Now to the roof and then the outside...
Hugs from Switzerland - not total lockdown, just partial one....
Marion