I knew that this smelled like trouble!!!
The plan:
fitting arched windows into a brick wall. Obviously, the window frame is brick as well.
Simple, right?
 The reality:
even though I got the perfectly lasered windows from Pepper already months ago, I ignored them and did other things. Until now. I knew perfectly well that this would be a difficult part of the build because I have seen friends who seem to have abandoned their project when they could not get it right 😉
So, here a step-by-step description - just in case someone else wants to have a go at this... haha.



 More progress:
the loft now has roofing and all the ceiling lights are in as well
I made a trash bin for the kitchen and a sports bag together with my mini friends from Basel


.. and I made a dining room table

So, enough. Now it is time to finish off inside...
Hugs
Marion
The plan:
fitting arched windows into a brick wall. Obviously, the window frame is brick as well.
Simple, right?

even though I got the perfectly lasered windows from Pepper already months ago, I ignored them and did other things. Until now. I knew perfectly well that this would be a difficult part of the build because I have seen friends who seem to have abandoned their project when they could not get it right 😉
So, here a step-by-step description - just in case someone else wants to have a go at this... haha.
- I cut the opening into the 2cm foambard as accurately as I could.. ha

- I decided that I wanted brick window sills on the outside
- I sprayed the windows
- I glued a 2cm cardboard strip around and fit them into the openings

- I glued the windows with frame into the opening

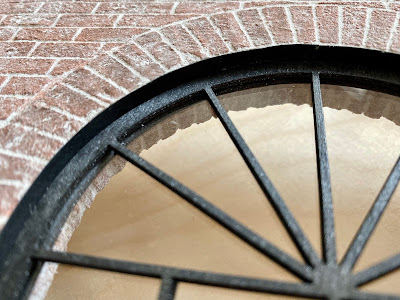
- I polyfilled the gaps around the window frames - and realized that the brick stencil was smaller than actual arch... my design mistake ... grrr...
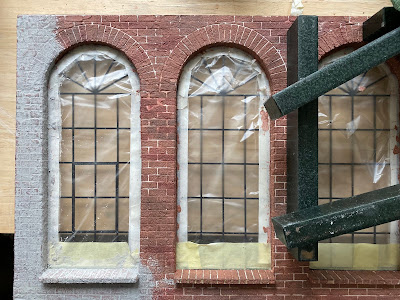
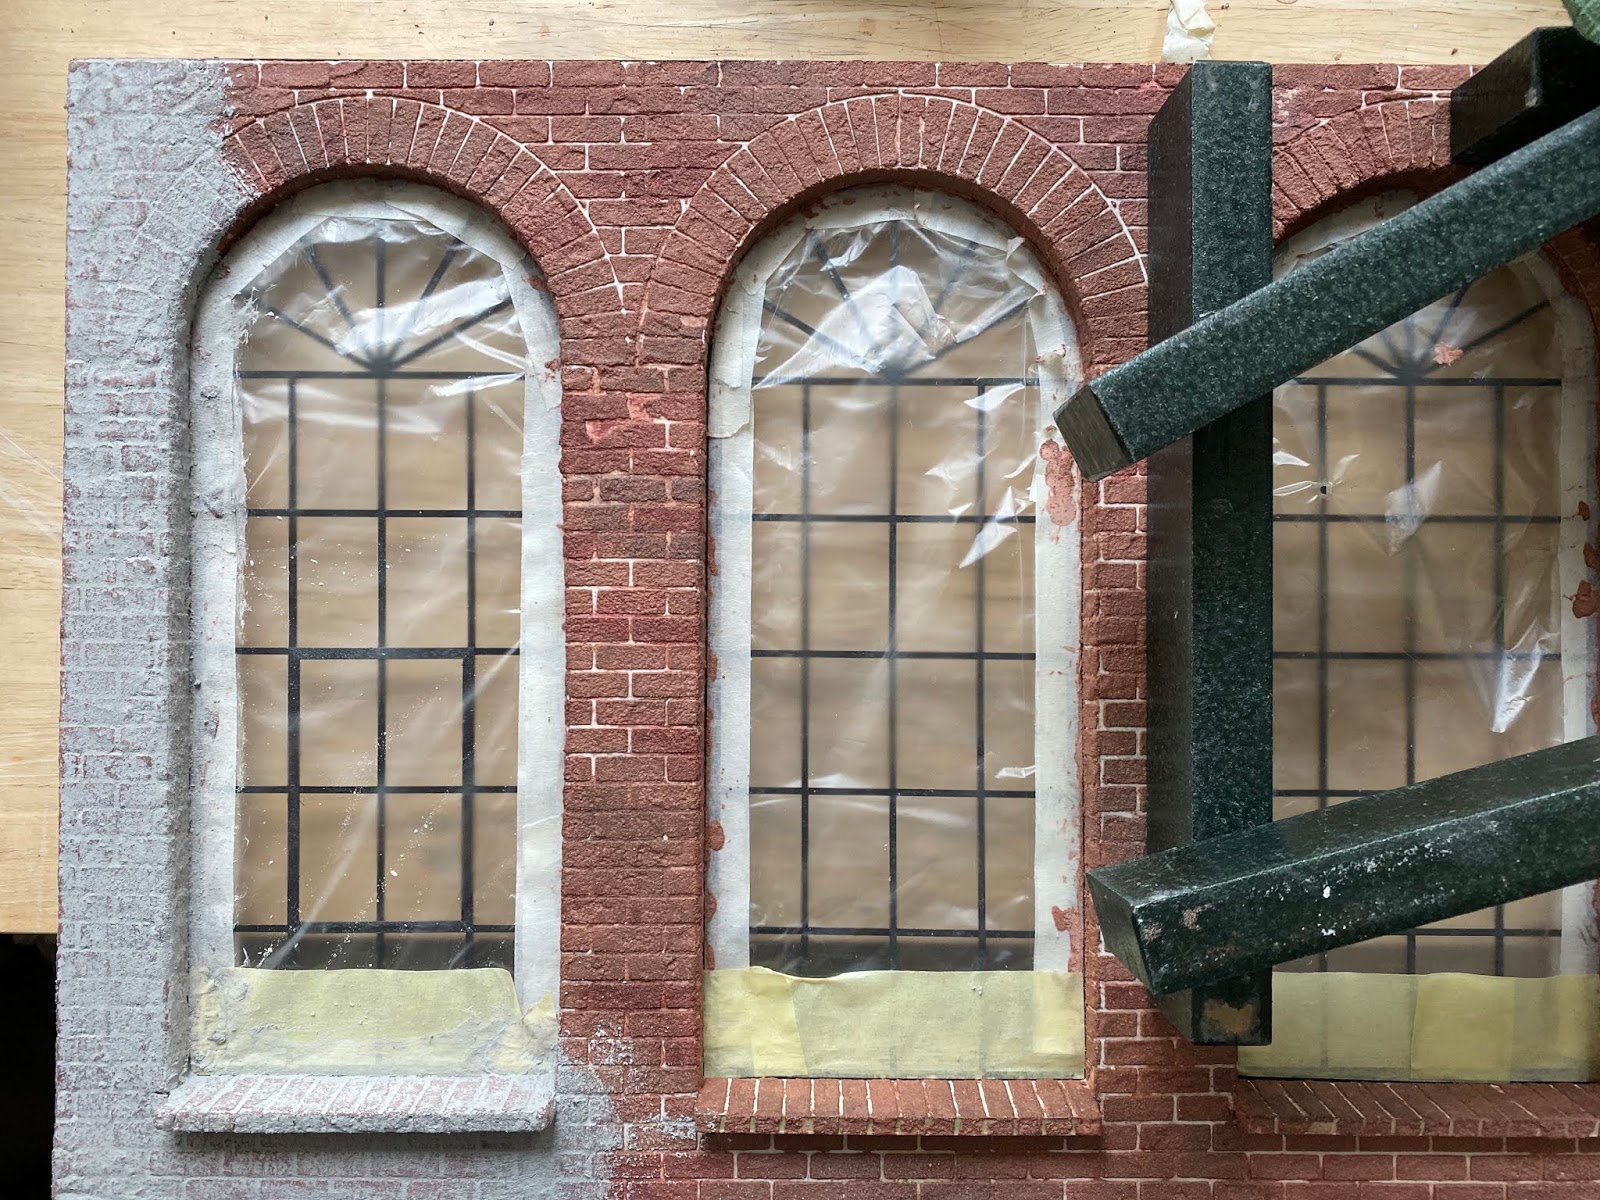
- I covered the windows to protect them from the brick plastering, hoping that I won't rip off the plastering when I remove the masking tape..
- I was fed up and distracted myself, went to Zürich and bought an iphone11pro - the camera with the 3 lenses is out of this world!!!
- I plastered the outside wall and around the corners right to the window itself. Fiddly stuff. Used Bromley's stencils and brick compound. And I used the weights so that this would not warp!!!


- I rewarded myself with 10 days in St. Remy-de-Provence, France
- I then had some urgent projects at work..... by now it is November....
- I attached the magnet to house and outside wall
- I plastered the inside wall
- I plastered the window sills (to be glued in later)
- Now I cut the stencil so that I could use this part so that the brick went round the corner to the window frame.


- I colored the bricks with water color to make them look real, applied two coats of matte acryl varnish to seal the bricks, waited... Grouted. The grouting process is delicate because most of it needs to come off the bricks again: if done when not dry enough it will attack the varnish, if done when too dry it does not come off. And as always: weights to prevent warping...
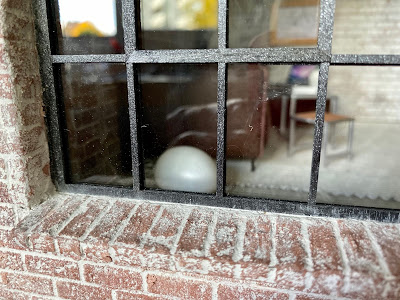
- I made a black cardboard frame around the windows inside

- I attached window sills inside and out


the loft now has roofing and all the ceiling lights are in as well
I made a trash bin for the kitchen and a sports bag together with my mini friends from Basel


So, enough. Now it is time to finish off inside...
Hugs
Marion


