Showing posts with label shower. Show all posts

Sunday, September 2, 2018

Industrial miniature bathroom

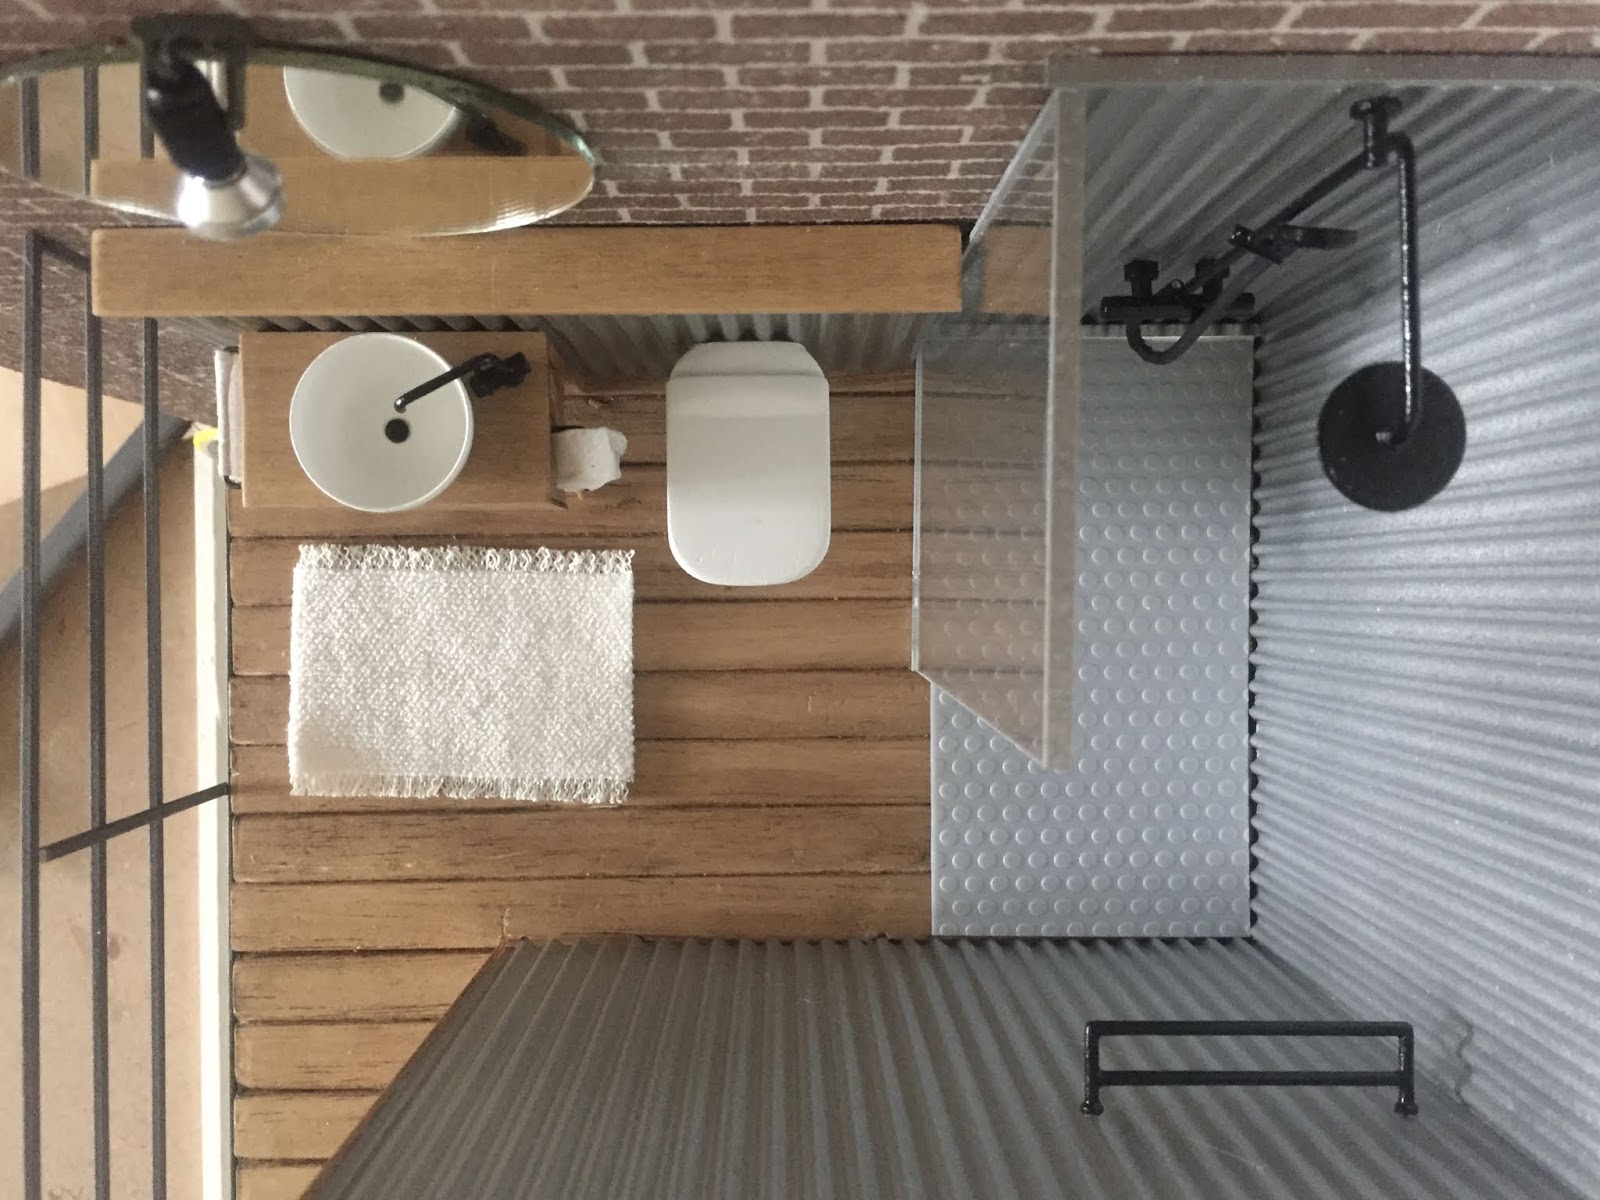
Let me first share with you the completion of the bathroom in this loft.
Industrial is industrial - and that is why the corrugated iron looks perfect in here
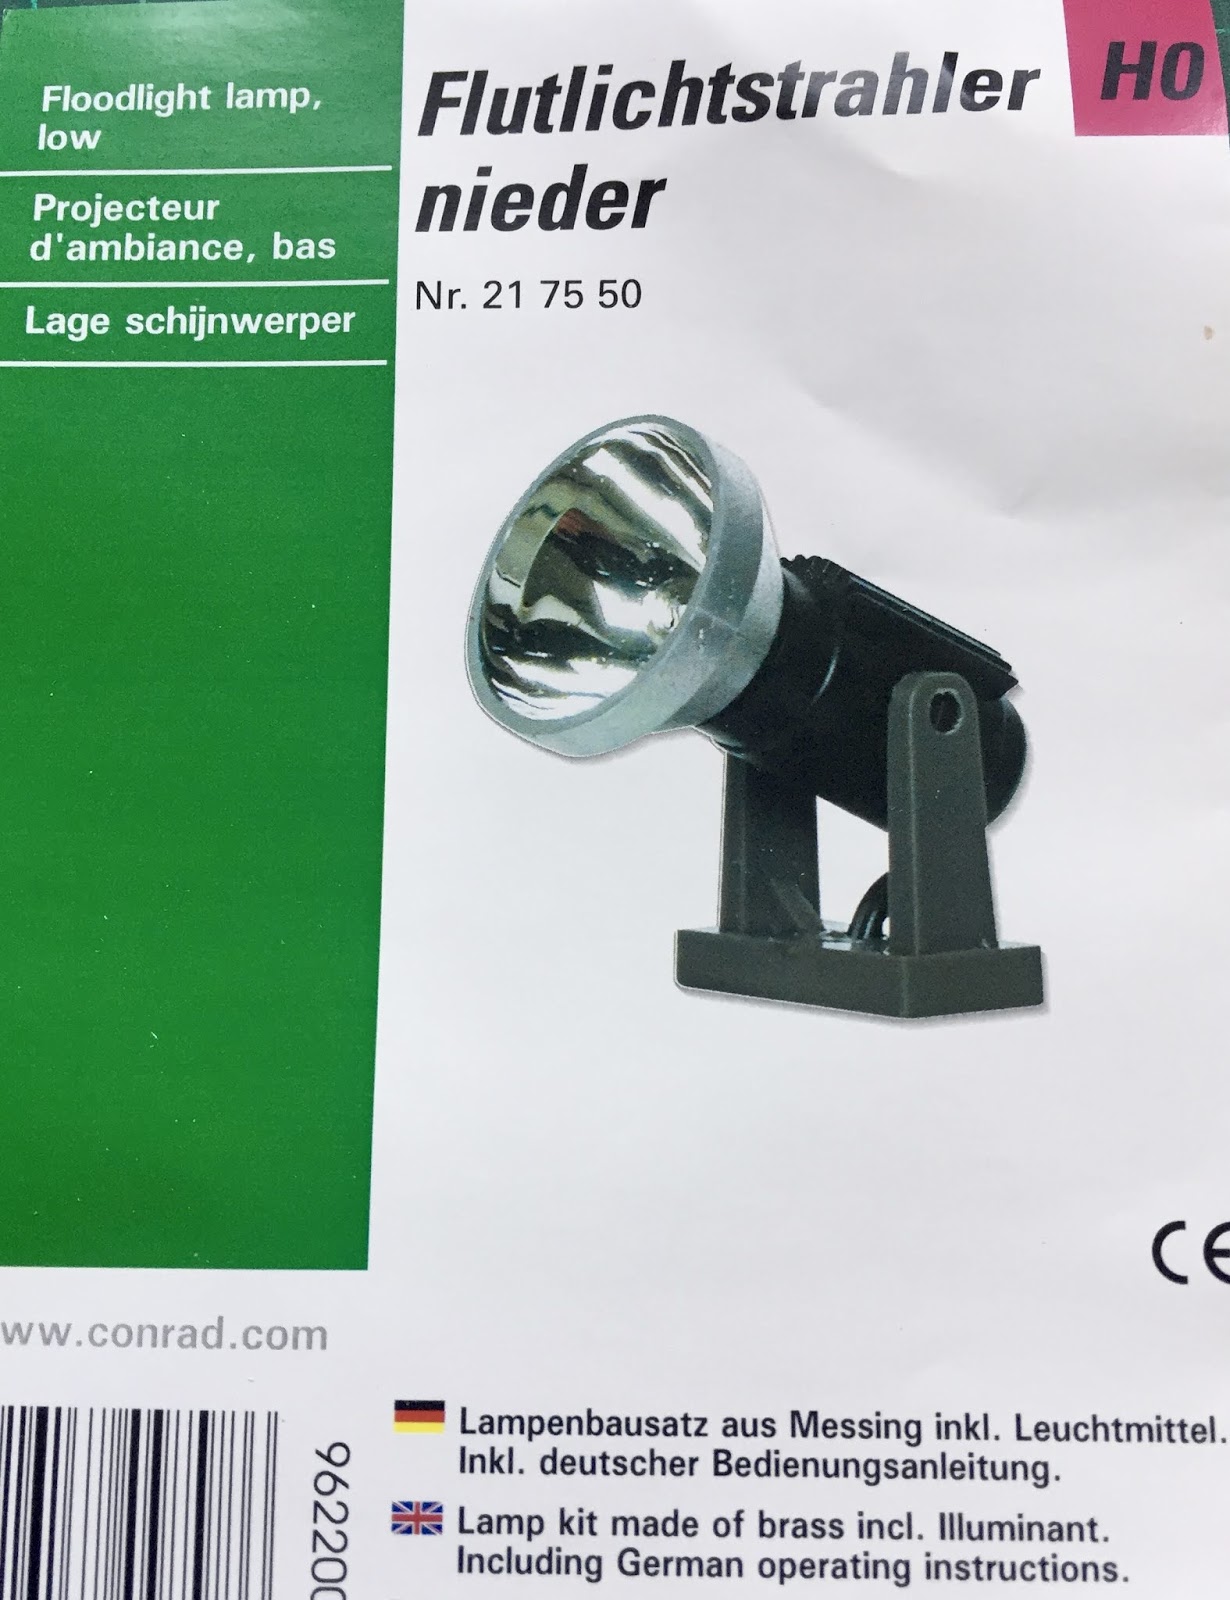
This spotlight was a bit of a find in a railway model bulding store. More below...


Spotlight: it even moves...


The 12v bulb was not strong enough though - so, I replaced it with this one
Supplier


Mini Group in Switzerland

And then, I met a great mini group here in Switzerland at the Fair in Rheda in spring. They meet regularly, mainly in the Basel region. But this time, we met at my place and had a fun evening making toothbrushes.
We tried out many materials, mainly cocktail sticks. And I told them the story of Pepper losing her clear toothbrush handle on the floor ... spending hours to find it again!
Guess what????? Carmen dropped hers as well - but even on my parquet floor we never found the (one and only) she made 😉😉 !!! She went home empty handed... 😒😒


But now my mini activity will come to a stand-still for a while!

I have decided to re-do my entire ground-floor apartment in real life: kitchen, walls, bathroom, floor - the works.

Funny, how one can plan and re-design for others - but my own home....
So, I hired an architect friend with a really creative mind and he came up with a plan that totally convinces me. And since I am the only person living here I can decide about everything :-)

It will change from this....

to this...
... with double the size studio than I have now! So, I can build and store many more houses!!

of course, I had to make a model ;-)

This means putting everything in storage once I start building - just as if moved house. Perfect occasion to clear up and throw out. 

I will 'camp' in the guest bedroom and bathroom (these rooms only get a new floor) during construction to be here to supervise work. And for the weekends I count on my friends...

Since I already renovated a number of flats and houses in real life, I will do the project management. Right now I am busy doing the specs for the builders and getting the quotes. 

It is all sooooo exciting! But it means as well loads of decision making.... 

I will keep you updated though and share this adventure to some extent with you all ;-)

Take care
Marion


Thursday, August 10, 2017

Bathroom and guest toilet

After installing he upper floor, the light cables, the outside siding and carefully measuring the dividing walls inside so that they all have the same angle as the roof - I started with furnishing of the tiny guest toilet and the bathroom.
Bedroom and bathroom will have lowered ceilings because of the proportions of the rooms - just did not look cosy enough when peeping in from the outside ...

Here is becomes visible: I want to make a gallery ...
As you can see here I work with loads of foam board and cover it with thin basswood sheeting. Used real wood though for the ceiling of the ground floor.
The gutter downpipe will hopefully conceal the wood cracks - but this outside wall is removable
First decision was how to tile the shower. I opted for wood 'ceramic' tiles (made from popsicle sticks) to stick to the minimalistic look.

I first had to make the furniture for the guest toilet before putting the wall in - too tight to put my hands in after that..

A tiny hand wash basin for a tiny guest toilet
It is amazing what one can make with the parts of a hearing aid!

dry run to see if this utensil shelf fits....
Orso returned my salad bowl filled with greeneries 😊. That will be the deco on the dining table.

And the warm evenings were great for making some books sitting outside until the daylight faded... or the mosis gave me a hard time ;-)

And I added a few more items to my Shapeways shop: a director's chair, sidetable indoor/outdoor in two sizes and stackable Ikea chairs.

It shows that I had a bit of a summer break at the office... lol.


Sunday, July 26, 2015

Tiny bathroom

Not much space for the bath - and the washing machine! Exactly 3.5 m2. And there is a large window as well...


I first made the 'laundry tower', then the dividing wall for the geyser and electrical mains in the back


Instead of building IN the house I made an element.


I had a hard time deciding what tiles I should put in: my favorite were mini mosaic ones - but in this small room it looked a bit too busy. When I finally made up my mind I tried my best - but it is obvious that I have not done much mini tiling yet..  I worked with fractions of millimeters because the tiles need to rest on the rim of the shower base. 


And the shower base in itself was a challenge because my benchmark was the one in Carol's last blog.  I made two from foam board, one from thick PP sheet, one from cardboard, one from foam rubber covered with gesso and finally settled for 1mm PP sheet material I sprayed glossy white. 
This after the very promising cardboard model was ruined because I left it outside to dry - and was caught by a sudden downpour, grrr


Then to my absolute favorite: the lights! More spots will eventually be installed in the lift-off ceiling.


Next step is putting the two containers together, doing the wiring and then lay the floor.
Keep u posted..


Monday, April 6, 2015

Bathroom Renovation

My model building is not very active at the moment: business is great and that obviously comes first.
And: I am renovating a real one-bedroomed apartment!!

No 'doing-it-all-myself' - need to organize and rely on plumber, electrician, tiler, carpenter and other suppliers. 
The 30-year old kitchen needs to be replaced - but that will not be a major issue.
It is the rather dated bathroom that gave me a headache: 4m2 is not a lot of room to play with and I do not want to spend a fortune either.


The choice of ceramics, tiles and all that stuff is nearly too much! Decisions, decisions... but I eventually had to decide.

As a passionate miniaturist I thought that I better make a model first... hihi
Now I know what this tiny bathroom should look like :-))


The downlight made me realize that there was not enough light in the shower area!
I am thinking of adding an LED strip to the left side of the mirror cabinet..


Whether I really find this kind of basin with cabinet? Not sure, probably will have to settle for a square one...

Will update you with pix once it is all done!

Update June 21st 2015: all completed in real life! Unfortunately I could not source a round vanity, but I like the square one, too.