Sunday, April 24, 2016

Table lamp blue

My passion.... lamps :-)


This weekend (mind you it is April and snowing outside!) I tried my hands at a more classical table lamp rather than making a designer model.

The fiddly part was drilling a 1mm hole the entire length of these spindles. Was a bit little building a tunnel: get it from both sides and hope that we meet in the middle.


Lampshades: pattern from Printmini
Material used: printable adhesive cotton paper (Silhoutte)
Mounting the shades: see blog from MitchyMooMiniatures , butterfly lamp


Painted them with chalk-paint blue/grey. Next lot I will try to get the 'shabby chic' look. There is definitely room for improvement:-)

And, still need to electrify them properly once the right LED bulbs arrive.


Thursday, March 24, 2016

Ingo Maurer 'Zettel' Chandelier in miniature

My latest creation - did not have time for much more lately.


I made it twice: the first time I used superglue and non-shiny wires - it looked a bit messy in the center. I then used Bondic : it 'glues' instantly and is clear when dry. Much happier with the result.


Still, it is a rather delicate construction and I do not want to handle it too much. So, it is in a nice niche now until I can use it for one of my projects one day...


Monday, March 14, 2016

Tutorial: making realistic natural stone walls in scale

I can spare you trying out the various methods you can find on the internet because I found a great way of doing walls!
I wanted mine in a limestone look like you find them in Southern Europe.

First I ordered a stencil from Bromley Craft Products together with a bag of Sandstone Brick Compound. Mind you, it is not quite as yellow as on their picture - but is slightly pinkish. I added some yellow acrylic paint to the mixture before spreading it on the foam board. I used a spatula and did not even out  - just rough and as it comes. Like this I do not have an even stone surface.. some are a little thicker, others have 'creases', etc.
Once dry, I colored it with greyish water color and dry brushed with raw umber (or Vandyck) and yellow acrylic paint.
Next step is to spray it with a matt acrylic varnish. That has to be done twice - leaving it to dry completely between the applications. It is important that you actually see the varnish forming a film! The stones need to be absolutely water tight.
If the rocks are not totally waterproof this is what will happen...
For grouting I used normal tile white grouting from the hardware shop, adding a bit of grey powder so that the contrast is not too stark.
Cover liberally (haha, as if there was a choice...) but scrape off excess.

Once the grouting is REALLY dry, use a sponge or micro fibre cloth to uncover the stones!

VoilĂ !

Sunday, February 28, 2016

1:12 Scale Shipping Container House completed!

Making the video took a bit of time: first had to sort through I don't know how many photos!
Good thing though judging by the trash bin :-)

Here the star photos:


Everything else at: https://youtu.be/79w7sS_GHk4

And a 'making of' at: https://youtu.be/uHb93uoT3po
Struggled a bit with this one... and by the time I did the personal end bit I just could not care any longer! No re-takes or such - just as it happened. Main thing it was done :-)

And now I will take a rest from model building. The bug will invariably bite me again... but it does not have to be tomorrow. You will notice when I start blog writing again ;-)


Monday, February 15, 2016

Sundeck part 2

... and other things---

TRARA! Done...
The sail softens the industrial look of the building ...


And the roof is on as well. My graphic artist friend Denise (who is the girl-friend of my one-line game buddy) works for a packaging company. I wanted large waves that were not sandwiched between two cardboards - she made it possible ordering some samples for me !!! 
Thanks Carol, Denise and Annina for helping me make the decision about the color. The 'ageing' bit will have to wait until you come to my place to do this, Annina :-))


Because I am really no good at painting, I used very fine real concrete to make the floor in front of the house ... had to cast a bit more to make the gully look real :-)

And then I noticed that the nano light in the ceiling at the entrance was greenish!! Horror!! There must be a bit of green in the wall paint - or maybe the light itself tends to give a green light.
I could resolve it to some extent by putting a brown parchment paper over the light. Now I can live with it. Hehe, and the entrance is finished as well! 


And here how I hid the electrical input:

First I tried the yellow ones used for model airplane building. But they were too tight - kept ripping the socket out when I wanted to unplug. Then I found these insulating screw joints - wonderful tiny and hold together perfectly :-))

At the end of a project, all of the sudden things come together very quickly - I thought that I had another 2-3 weekends to go. But there is not much more to do: looking for a bedspread in the right color, making the patio table, attaching the solar panels, a bit of vacuuming inside and cleaning the windows :-)

And then the photo shooting to make a short video again - this time on he beach. There are small patches of sand around our lake here - but do I really want to transport the model there??


Sunday, January 24, 2016

Sundeck part 1

First weekend in a while thatI could spend some time on the container house.
The inside is complete (see previous blogs) but now comes the roof and the sun deck.

I decided that this house is at the beach - and made the most important thing first:


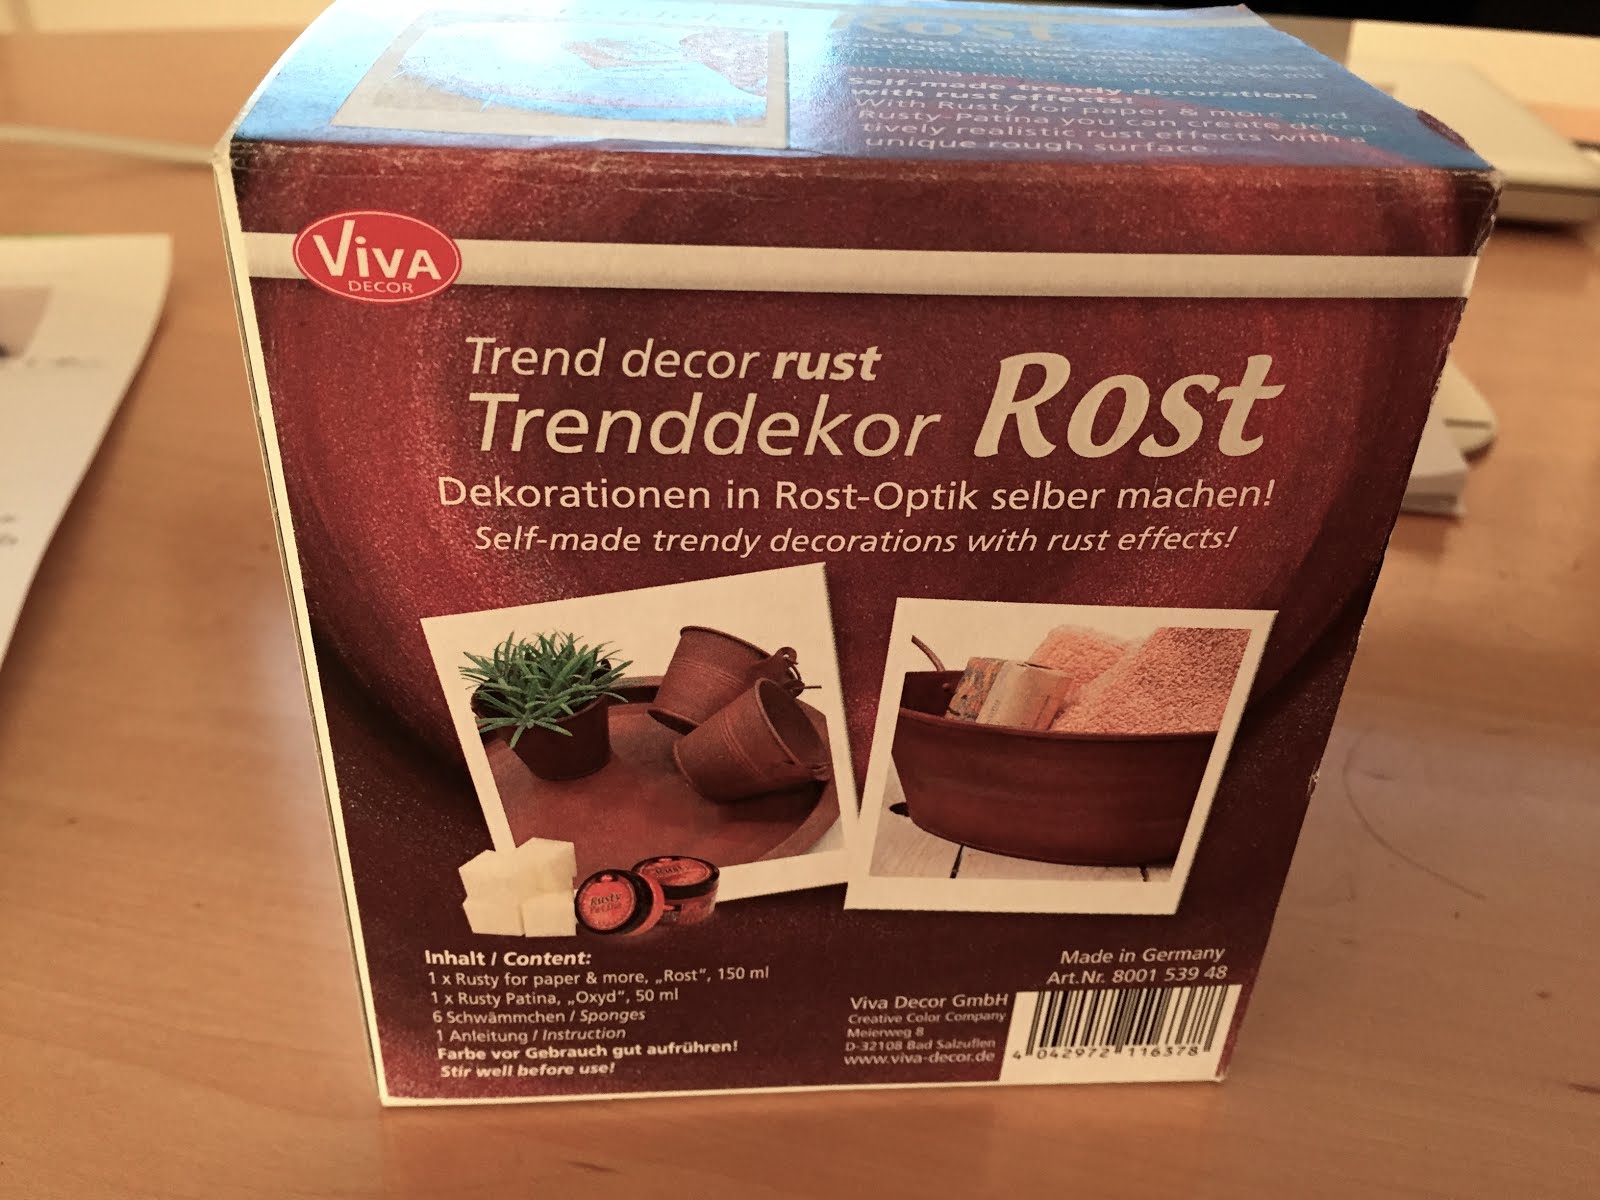
The grill plate is from Mini de Pierluigi and for the rust effect I found this great set:


The construction is starting to take shape...


Not much really - but enough for one Sunday :-)


Publication Doll's House Magazine Christmas Edition 2015

It has been a while since I sent an update. Been kind of busy at work and did not even get around to communicate this - and this really was my miniature highlight in December!!

Carol from Doll's House Magazine put together a great article about my previous project, the Swiss Log Cabin model:


She did this wonderfully - wrote a story and even gave some ideas on interior decoration items when furnishing a log cabin... just like in the 'big' magazines.

To see the full article
And for seeing even more - see the video on youtube.

Thursday, November 5, 2015

Lounge corner, guest bed, dining area, lamps again... and finishing the inside

Loads of photos to show this time... ;-)

You probably noticed: designer lamps are really a passion of mine...
The first thing when I entered the venue for a birthday party last week, was looking at the lighting! I thought that these were awesome (Foscarini Tress) - and tried to make them in mini the next day. I got there - not quite as perfect as I wanted though - but after trying with string, fine paper, gesso, 2mm ribbon I settled for 60g paper, glue and gesso. And a tiny nano LED - after all it is just for ambience.


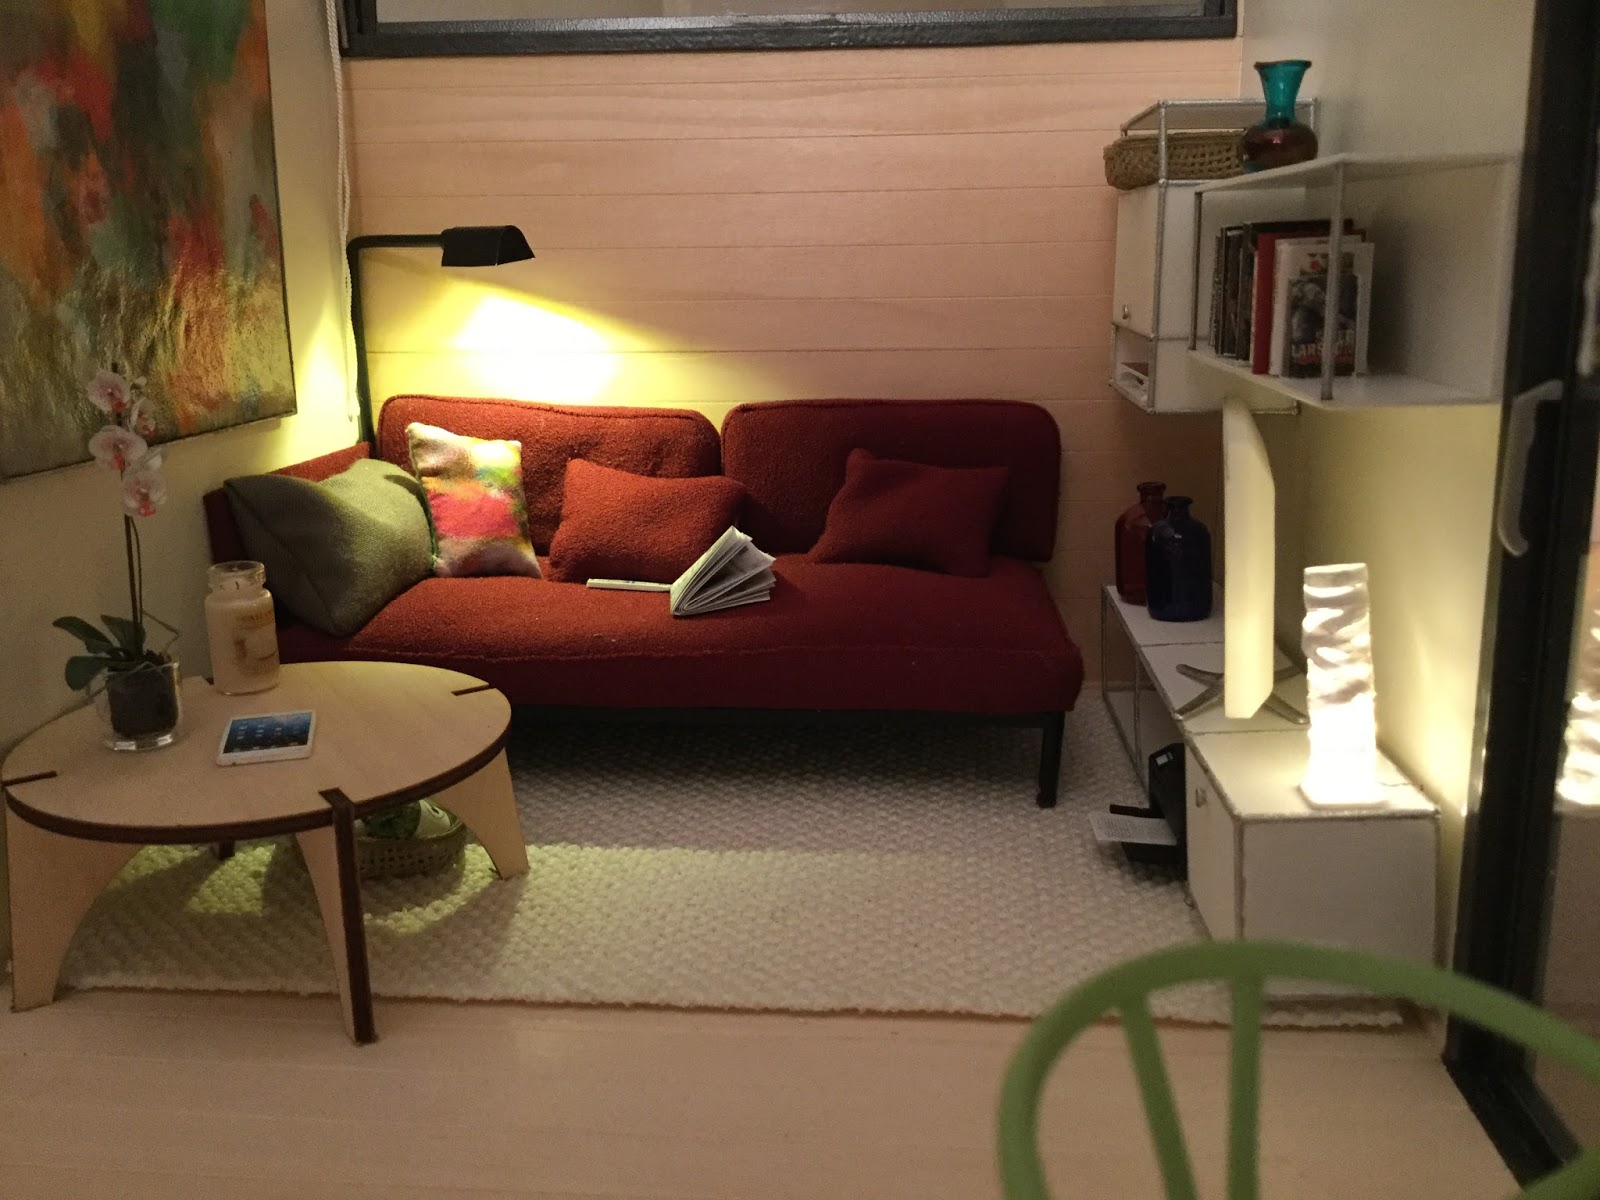
First thing I made for the lounge corner was the sofa. Not only did it have to have a 'light' appearance (heavy furniture in this small place would be suffocating ..) but it had to have the dual function of use as guest bed.
I shortened the legs somewhat because it was too high like this..
LOUNGE CORNER: Then there was the bookcase. I made one with foamed PVC - again as 'light' as possible but it turned out to be too solid and sturdy. So, I had these USM Haller 3D models I made a year ago (and never used): they looked perfect! Painting the chrome railings was a bit demanding because the base unit was not polished when printed and very porous... tricky. But you will have to look extremely closely to find the messy spots :-)
The bookshelf I made to look as similar as possible with 1mm foamed PVC. 
The printer is as well made from foam board. I enjoyed to finally use some of the loot from the Kensington Fair: vases from Ray Storey, wood bowl for the plant, baskets and a collectors item vase (on top) I found in at the Basel Dollhouse Museum two years ago.
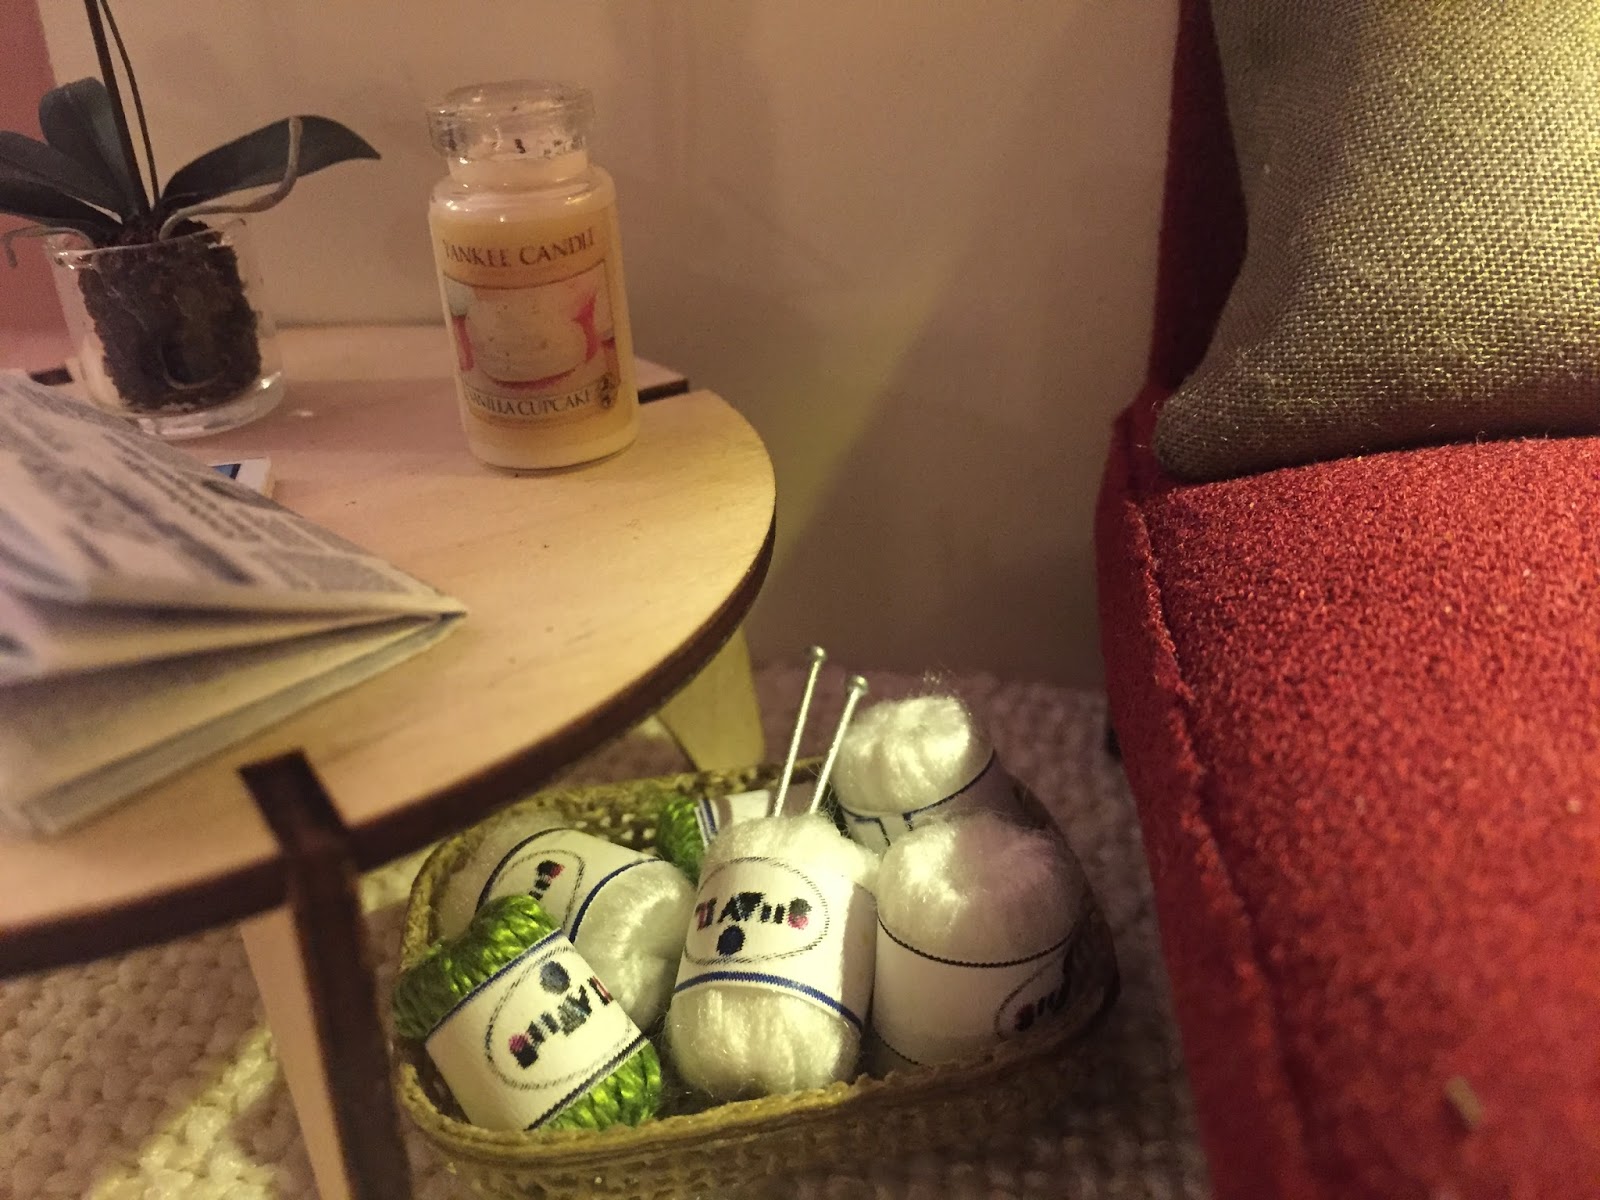
The low table which Carol laser-cut for me from a design by Swiss Damian D, the candle from Roni, and this wonderful orchid from Petite Fleur (Gill Rawling): they all look great together. I printed the picture on fabric (thanks Annina) and did a bit of extra for the cushion. 
But I imagined sitting there and watching telly and doing nothing with my hands - not possible! So, how about a knitting project?

DiNING AREA: it took a bit of thinking to figure out how to hang the ceiling lamp above the dining table without attaching it to the ceiling, which I want to be able to take off. I fed it through the kitchen cupboards into a beam across the room - and I just see that I need to level this out ;-(


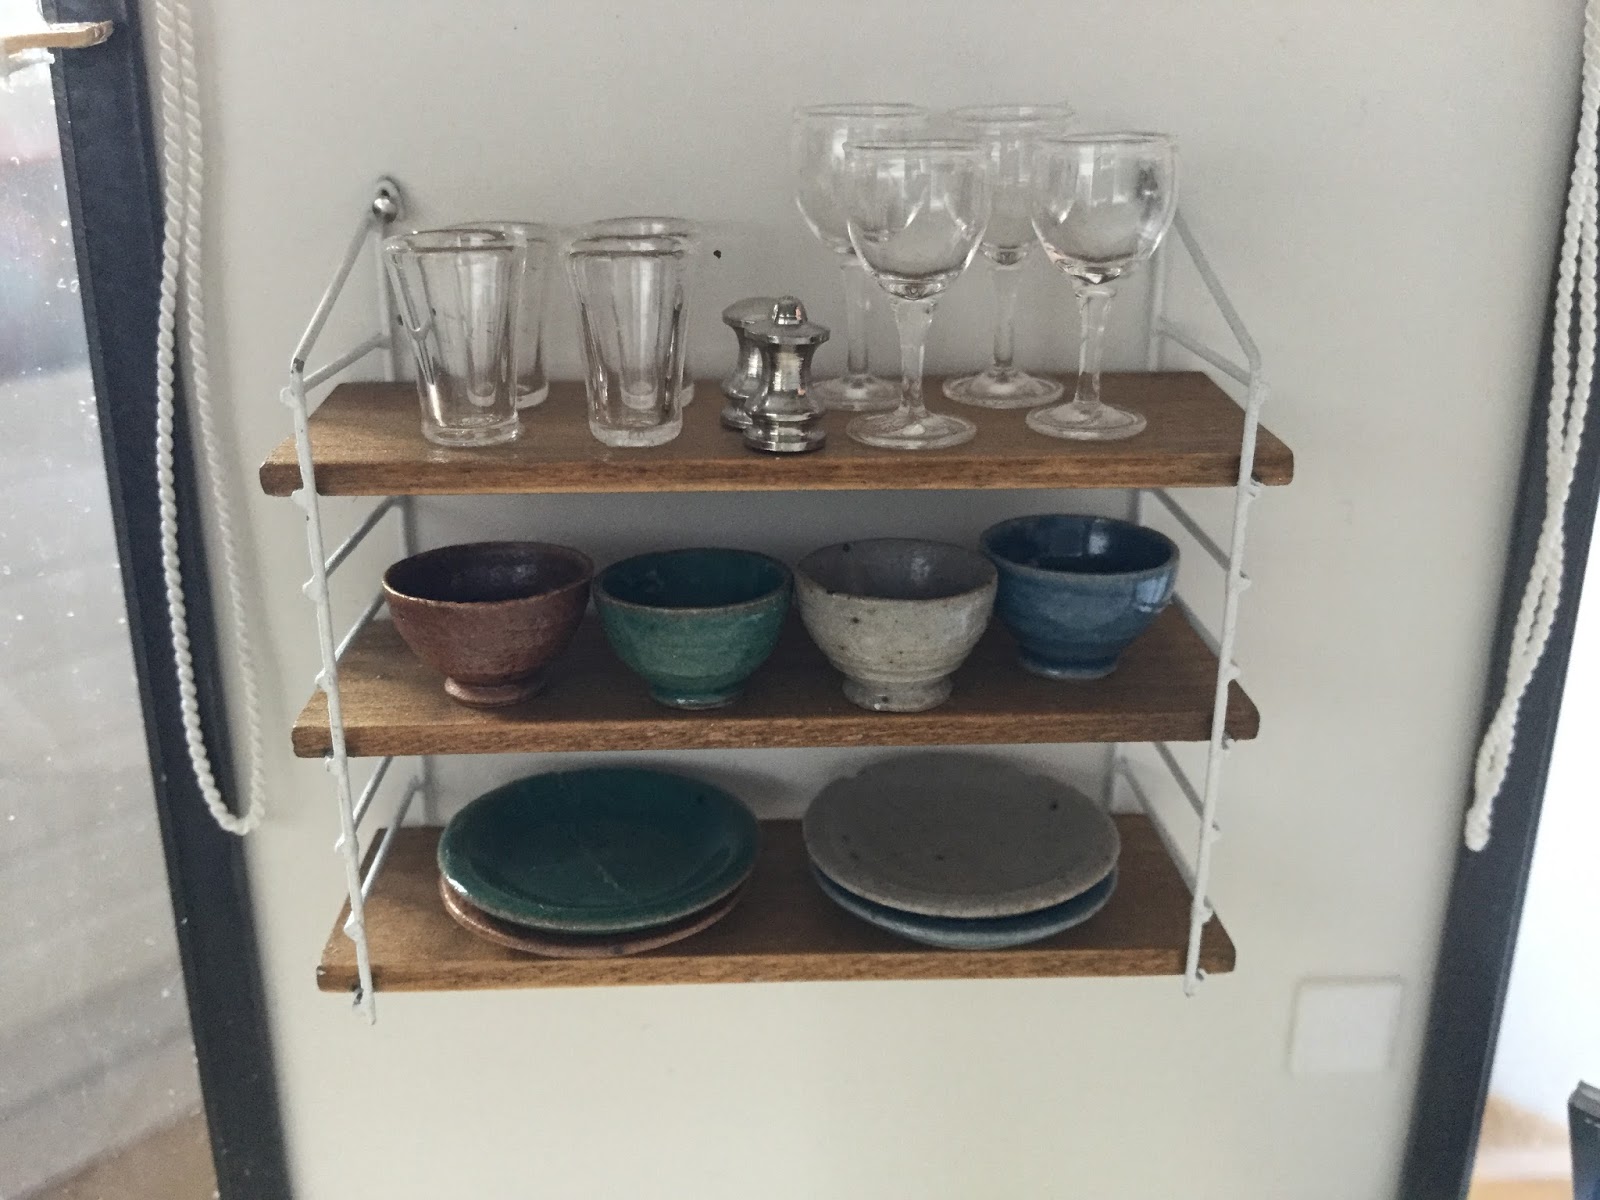
And I found a perfect place fĂĽr Annina's shelf, filled with the wonderful pottery from French Elisabeth Causeret


With this, the interior is done now and I am ready to tackle the roof and the outside.
The ceiling with the spotlights is ready...


Tuesday, October 20, 2015

Kitchen

Things are moving slower than planned - but then life has its priorities.
Mine is the business at the moment. I am looking forward to the weekends with nothing to do.. but winter is in sight. Darn, I will miss the daylight for doing my mini stuff!

But I would like to show you some progress which dates back a while already. The kitchen turned out to be a real beauty:
Love the knives I bought at the Kensington Fair from Pierluigi Pirovano!

Details...

Looking in from the outside

... and sneak preview of the lounge corner ...

as long as the kitchen is tidy is is not bad to look at from the sofa either...
I did the kitchen fronts with foamed PVC, front for oven and dishwasher comes from Elf (ha, Roni and I now found out how to make these tiny knobs though...), lighting is nano LED, glass on the back of the working surface and sink&tap from my own 3D models on Shapeways (Evelin Klotz has an even nicer sink though..).

Once the bulbs are in the soil and we switched to wintertime - I am sure I have more time for my hobby again :-)
Next up is to complete the lounge/dining corner with all the deco stuff that goes with it, too.
BTW: I could do with a mini sewing or knitting basket - if anyone knows where I could get this...