... and other things---
TRARA! Done...
The sail softens the industrial look of the building ...
And the roof is on as well. My graphic artist friend Denise (who is the girl-friend of my one-line game buddy) works for a packaging company. I wanted large waves that were not sandwiched between two cardboards - she made it possible ordering some samples for me !!!
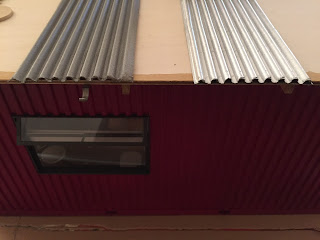 |
| Thanks Carol, Denise and Annina for helping me make the decision about the color. The 'ageing' bit will have to wait until you come to my place to do this, Annina :-)) |
Because I am really no good at painting, I used very fine real concrete to make the floor in front of the house ... had to cast a bit more to make the gully look real :-)
And then I noticed that the nano light in the ceiling at the entrance was greenish!! Horror!! There must be a bit of green in the wall paint - or maybe the light itself tends to give a green light.
I could resolve it to some extent by putting a brown parchment paper over the light. Now I can live with it. Hehe, and the entrance is finished as well!
And here how I hid the electrical input:
First I tried the yellow ones used for model airplane building. But they were too tight - kept ripping the socket out when I wanted to unplug. Then I found these insulating screw joints - wonderful tiny and hold together perfectly :-))
At the end of a project, all of the sudden things come together very quickly - I thought that I had another 2-3 weekends to go. But there is not much more to do: looking for a bedspread in the right color, making the patio table, attaching the solar panels, a bit of vacuuming inside and cleaning the windows :-)
And then the photo shooting to make a short video again - this time on he beach. There are small patches of sand around our lake here - but do I really want to transport the model there??