Monday, June 27, 2016

SIMP Miniature Fair in Paris 2016

Spending more than 4 hours to get that little???
Seems crazy - but it is always difficult to avoid kitsch...

And then: to meet all the FB friends finally in person :-)))

Probably the greatest decorator is Janny Warnaar of Artofmini. She has a wonderful way of presenting things... I am very impressed! And therefore it was rather difficult to get access to their showings because the rock the market somewhat with their products (good business sense..). Janny, wonderful finally meeting you in person. Wish I could hire you to decorate my new house :-)

With Catherine Ferouelle of  l'atelier du chat botte I shared a salad, a smoke and we just took to each other instantly! What an admirable artist: totally uncomplicated, ready to share knowledge and she simply seems to have fun experimenting. One day, Catherine, I will be as good at painting as you are... long way to go though.. Looking forward to getting your garden chairs though :-)


And I finally met Francisco and his lovely (good looking) mother from Artmajeur! We have been exchanging so many mails about perfect stone wall, LED for his lamps and his perfect models.. I could obviously not resist and chose the lamps that are least retro to fit into my present project.

I promised Susanna Alberti of MiniatureFashion to come to the Milan Fair! Susanne, glad that we met in person and I could see your delicate work! You should be very proud of your sense of fabric and fashion...doing creations like you do is totally beyond me :-)

I always worked with LED light from modelltrainsoftware in USA. I few miniaturists have mentioned Nalladris and I had a look at their LED products. This is really an alternative AND their lamps to not have these terrible resistor units I always have to hide somewhere. Bought a few and will check them out...

And: Elisabeth Causeret with her pottery...

And: Elsner van Gronow with an incredible choice of metal ornaments....


When unpacking my 'loot' it looked like so little...
But I am so excited about using all these things eventually :-))


Monday, June 20, 2016

Working with Versi Flags Flooring

After all this I am now highly qualified in laying tiles!

And I have to admit that I had to rip out the entrance area again after I messed it up with the grouting... grr. But it was only a question of patience - and having enough spare tiles ;-)


I got them from MinimumWorld and they are great because one side is sandstone and the other slate - so, one has the choice. I opted for sandstone inside.

I drew some lines to help me keep the directions.After trying a number of glues, Pritt stick worked best and was least messy.


Once dry, I did NOT varnish them but spread polyfiller on the entire surface - covering everything with a VERY fine coat.
Just to immediately wipe it off with a damp cloth. Looked as nothing was left ....

... but after 4 minutes it shows that a thin white film remains. Perfect because I wanted a more homogenous look - without this 'whitewash' the floor seemed to busy.
Weights come in handy as well...
I made a test to see what varnishing the floor would do - and it showed that the white did disappear somewhat. So, I left it unvarnished, even though a little shine would have looked great as well. Can't have it all!

Here what it looks when all is dry. In the background under the newspaper hides that great door I got from Pipi Turner! Fitting it without a door frame meant that I had to polyfill around... will show you once I have it perfect.

Take care
Marion


Thursday, June 2, 2016

French style antique window handles and latches

Oval handles and latches like these in 1:12 cannot be found in any hardware shop.


After having this great response from the mini community about the windows I made I tried something in 3D. My designer Vijay drew them up as small as possible - after all it still had to be printable...

And today the I got the prints in white plastic!


Of course I had to paint them immediately!


Next time I thin down the paint so that details of the print are more pronounced.
And I would use a 1mm wire to keep the proportions (can feed up to 1.2mm).

VoilĂ !


Thought I share this with you all..


Tuesday, May 31, 2016

Basket Galore!

So, I went a little crazy ...
But every Provencal house is full of baskets of some sort.

I found some great work on Etsy and via FB.
Here my pick:

These are from Louise Pendreich (U.K.) via her Etsy shop AuldReekieCrafts
The tiny ones are for my shelves (which I have not built yet..)

These are from Etsy shop WickerMiniature (Russia)
The scale is a little large for 1:12..

These are from Kamilla Dlugowlska (Italy) via her Etsy shop MiniaturesMad
Custom made for me!


These are made by me... after I found this fabulous material!


Thought I share this with you in case you are looking for great basket makers.

Thursday, May 5, 2016

Revealing my new project - the 'Lagnes' house

After three months of trials and samples I could raise the first walls!

I designed the house based on a real property that was for sale in Lagnes (near Avignon). It is in the middle of a village - the last house in the street. So, it has a bit of a garden on the one side and a view to the west - ideal...
Buying it was no option because the only fun would be the rebuilding part - and with a 7 hour drive one way (and French builders...) this seems a bit crazy next to running a business ;-).
That is why Mini is wonderful: I still can make the dream come true without really having all the hassle!

Because it is a real-life situation I was limited with the design of the house - it had to fit into the village and street: 2 storeys, no balconies, low pitched roof, etc.

Finding the best way to create the stone walls was the biggest challenge up to now. And I had my architect friend Francisco from Miniarquitect in my back, constantly challenging me to make it even more realistic. Thanks Francisco - I needed that push from you!


I made all the windows - they are ready for installation.

For all you window builders: AFTER I finished my windows I get the clever idea of having handles designed in 3D ;-) .
They are available in my Shapeways shop. I made an opening to of 1.2mm so that a wire or stick can be fed through it!


The first room that I can now present is the guest cloakroom :-)
I have not received the versi flags stones for the floor yet and worked with the little I had.
oops, the lampshade has to be adjusted....

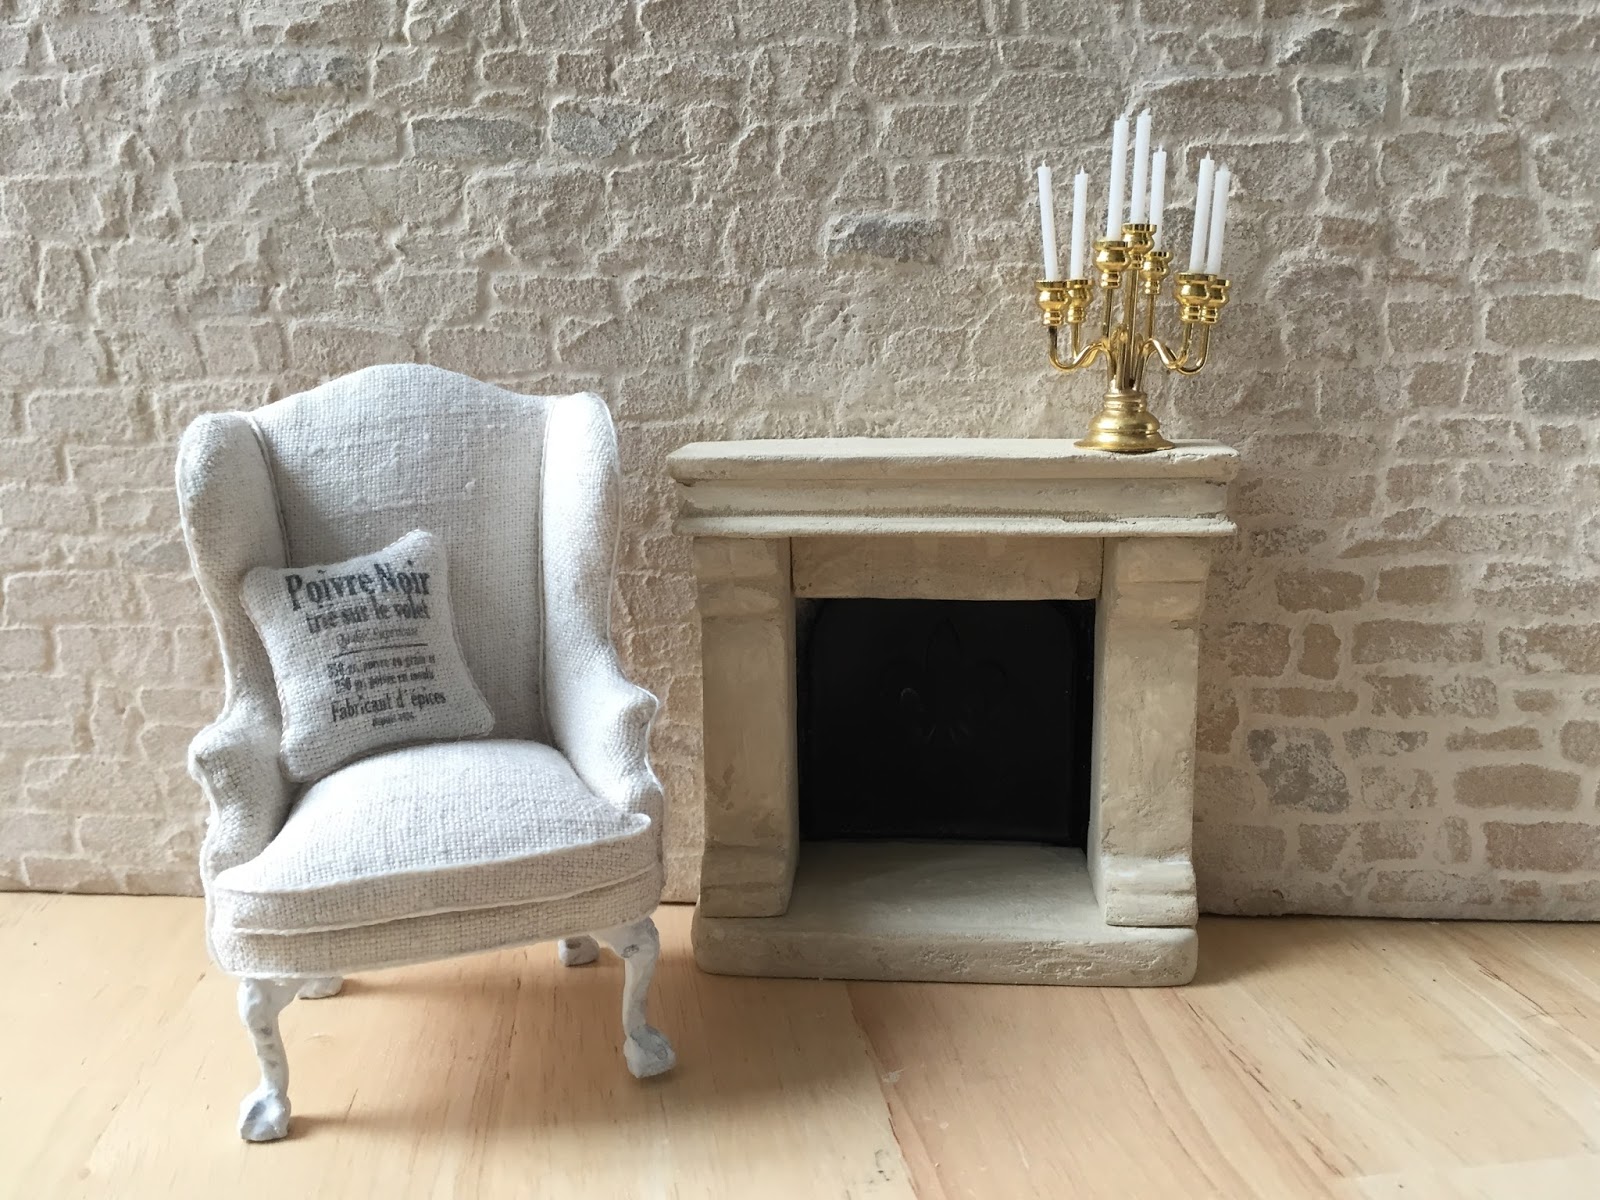
And I finished the typical provencal fireplace (foam board).
Probably heading for the Paris miniature show in June to meet a few FB friends who are making great deco and miniatures. This chair is from Jena Jangren's shop Miniatyrmama - all the way from Sweden!

Keep u posted!


Sunday, April 24, 2016

Table lamp blue

My passion.... lamps :-)


This weekend (mind you it is April and snowing outside!) I tried my hands at a more classical table lamp rather than making a designer model.

The fiddly part was drilling a 1mm hole the entire length of these spindles. Was a bit little building a tunnel: get it from both sides and hope that we meet in the middle.


Lampshades: pattern from Printmini
Material used: printable adhesive cotton paper (Silhoutte)
Mounting the shades: see blog from MitchyMooMiniatures , butterfly lamp


Painted them with chalk-paint blue/grey. Next lot I will try to get the 'shabby chic' look. There is definitely room for improvement:-)

And, still need to electrify them properly once the right LED bulbs arrive.


Thursday, March 24, 2016

Ingo Maurer 'Zettel' Chandelier in miniature

My latest creation - did not have time for much more lately.


I made it twice: the first time I used superglue and non-shiny wires - it looked a bit messy in the center. I then used Bondic : it 'glues' instantly and is clear when dry. Much happier with the result.


Still, it is a rather delicate construction and I do not want to handle it too much. So, it is in a nice niche now until I can use it for one of my projects one day...


Monday, March 14, 2016

Tutorial: making realistic natural stone walls in scale

I can spare you trying out the various methods you can find on the internet because I found a great way of doing walls!
I wanted mine in a limestone look like you find them in Southern Europe.

First I ordered a stencil from Bromley Craft Products together with a bag of Sandstone Brick Compound. Mind you, it is not quite as yellow as on their picture - but is slightly pinkish. I added some yellow acrylic paint to the mixture before spreading it on the foam board. I used a spatula and did not even out  - just rough and as it comes. Like this I do not have an even stone surface.. some are a little thicker, others have 'creases', etc.
Once dry, I colored it with greyish water color and dry brushed with raw umber (or Vandyck) and yellow acrylic paint.
Next step is to spray it with a matt acrylic varnish. That has to be done twice - leaving it to dry completely between the applications. It is important that you actually see the varnish forming a film! The stones need to be absolutely water tight.
If the rocks are not totally waterproof this is what will happen...
For grouting I used normal tile white grouting from the hardware shop, adding a bit of grey powder so that the contrast is not too stark.
Cover liberally (haha, as if there was a choice...) but scrape off excess.

Once the grouting is REALLY dry, use a sponge or micro fibre cloth to uncover the stones!

VoilĂ !